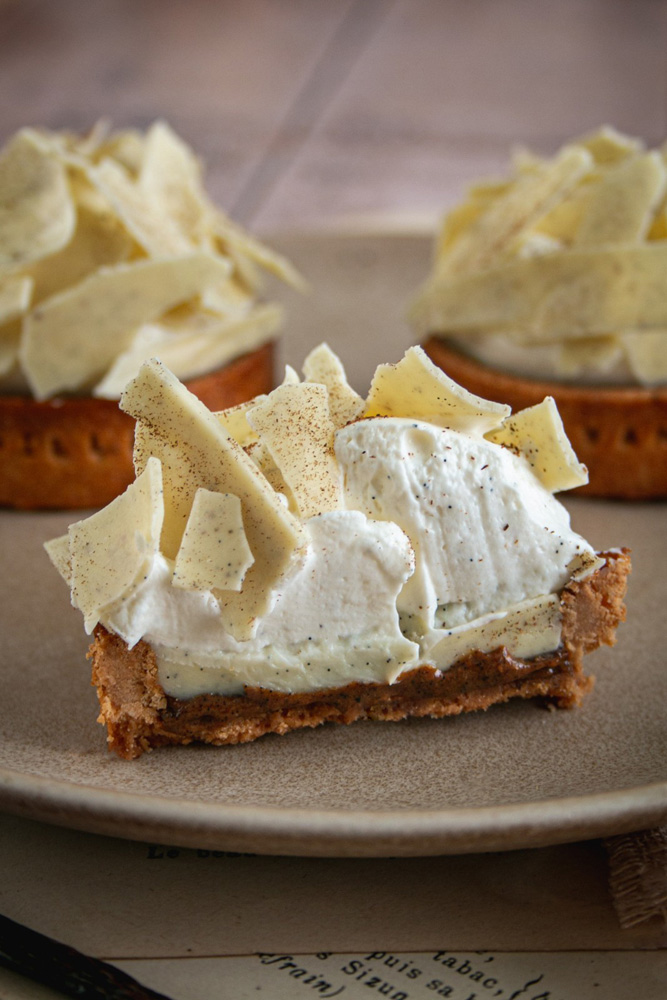
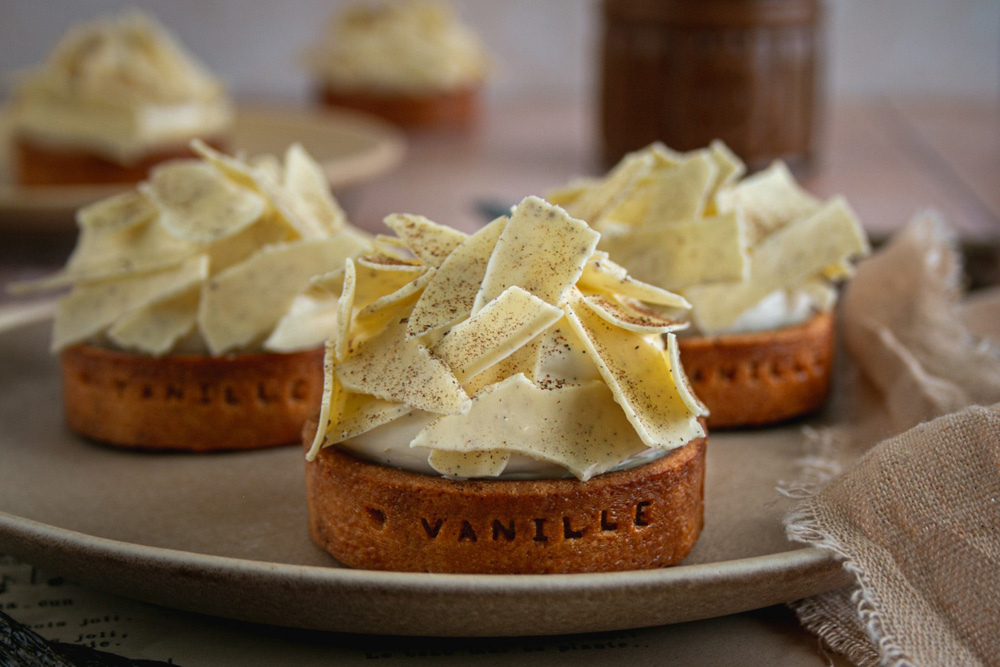
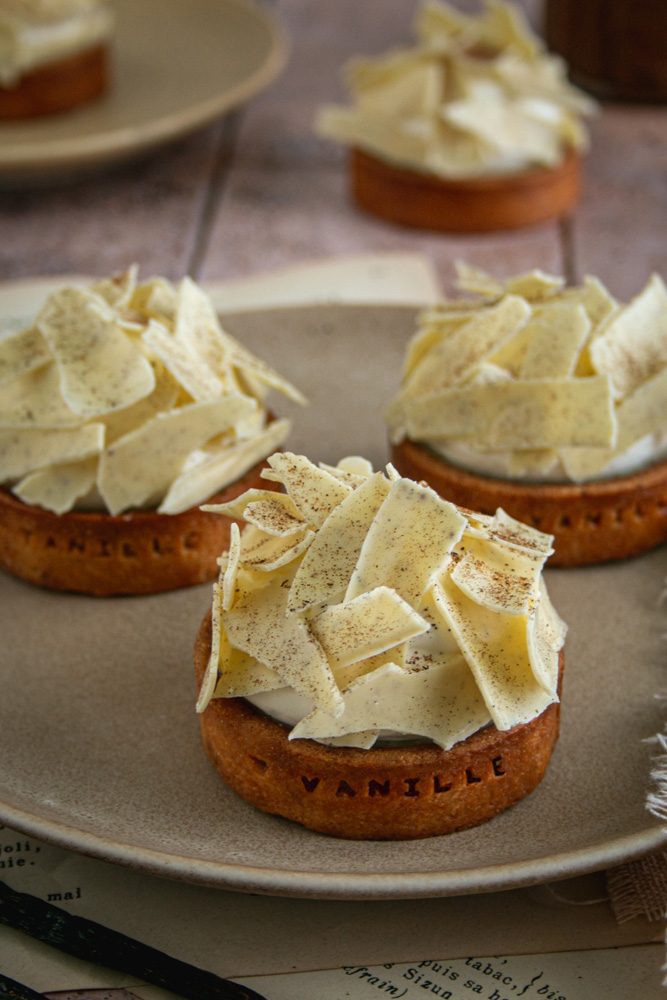
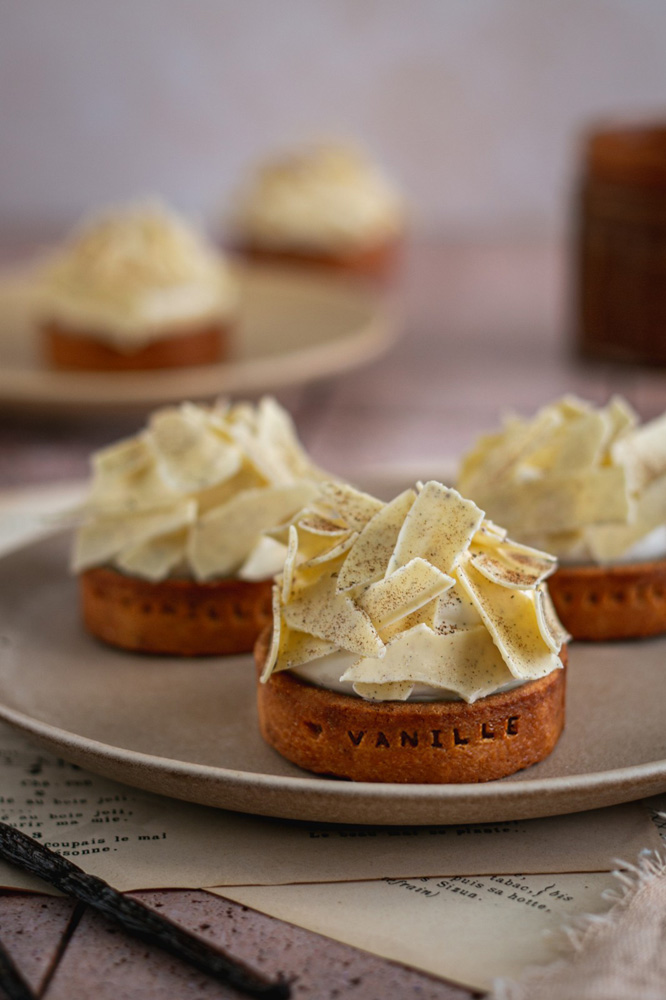
The latest special issue of Fou de pâtisserie magazine is devoted to vanilla. Needless to say, I couldn’t wait to leaf through it. And I ended up falling for the vanilla tartlets by Mélanie l’Héritier and Arnaud Mathez, a young couple of pastry chefs who founded Le Jardin Sucré.
These 100% vanilla tartlets are made up of a pâte sucrée, a vanilla ganache, a vanilla praline insert, a vanilla whipped ganache and vanilla-flavoured white chocolate decorations.
As for the tasting… whoa! We had a real treat and I can tell you that these tartlets didn’t last long. I’ve rarely eaten a dessert this good <3. The vanilla praline brings that touch of indulgence that is essential to the success of this dessert, it’s absolutely insane!
Which vanilla should you use?
Here I used organic Madagascar vanilla from Norohy (an exceptional vanilla <3) which reveals intense floral and woody notes. For the vanilla aromas to express themselves fully, I strongly recommend infusing your vanilla. If you have the time (and plan this recipe ahead), you can even do a double infusion, first cold for 24 hours, then hot (covered and off the heat) for 20 to 30 minutes. Depending on the temperature, the vanilla aromas will express themselves differently.
In any case, if you want to make these 100% vanilla tartlets, forget the vanilla extract you can find in your supermarket (firstly, it isn’t vanilla, and secondly, you’ll never get the result you want in terms of flavour). It would be a shame to go to the trouble of making such a beautiful recipe for a mediocre result.
I know vanilla has become a luxury product in recent years. Prices have soared, so naturally, making a 100% vanilla dessert comes at a certain cost. In the vanilla praline, the chefs’ recipe calls for 4 vanilla pods. Yes, that’s a lot for just one preparation! But you can, like me, use only 2 and top up with dried pods (I always keep my used vanilla pods). Finally, the best way to save money on vanilla is to buy it in bulk. Admittedly, it’s an upfront cost, but it will last you a while and bring down the price per pod. You should also know that vanilla pods freeze very well. I usually buy them in packs of 30 or 40 pods and freeze them straight away. That way, a vanilla pod costs me around €2 each (which is immediately more acceptable). Mind you, that isn’t the case for the vanilla I used for this recipe (from Norohy), which is truly an exceptional product and costs more (€18 for 3 Madagascar pods).
Which white chocolate should you use?
Let’s keep talking about ingredients. To succeed with this dessert, you’ll need to use good-quality white chocolate. Firstly, because with a supermarket white chocolate bar you won’t be able to make the decoration properly (it isn’t a couverture chocolate), and secondly, because the white chocolate you find in supermarkets is very sweet. In our recipe, we need white chocolate for the ganache, the whipped ganache and the decoration. Imagine the amount of sugar if you don’t choose a quality chocolate :/
You can use Ivoire chocolate from Valrhona (and take advantage of my promo code to order some) or Zéphyr chocolate from Cacao Barry. There are other brands too (Weiss, Cémoi…), it doesn’t matter, as long as it’s a white couverture chocolate. Nowadays you can easily buy it online, but also in certain shops such as Zôdio.
How do you make chocolate curls?
This isn’t a difficult recipe in itself. In the end, the only small difficulty lies in making the white chocolate curls (in other words, the decoration). This requires tempering the white chocolate (first difficulty) and finding something to roll it around a tube (second difficulty :P). I didn’t have a tube with a small diameter, so I whipped out the broom handle, you make do with what you have, right! It was still a bit too big but it did the job all the same!
But let’s start at the beginning. To make these white chocolate curls, you’ll have to temper the chocolate, that is, melt it following a particular temperature curve: first melt the white chocolate to 40-45°C, then bring the temperature down to 25-26°C, then finally bring it back up and hold it at 29-30°C, which is the ideal working temperature for white chocolate (the temperatures differ depending on the chocolate). If you’re not comfortable with this technique, I recommend reading the article by Maxime, who explains everything in great detail.
That said, if you don’t feel like getting into classic tempering but don’t want to give up on the idea of making this dessert either, I can suggest trying tempering in the microwave. I talk about it in a previous article (Julien Dechenaud’s chocolate praline tartlets). Be careful, you’ll need to adjust the melting temperature since, in our vanilla tartlet recipe, we’re dealing with white chocolate and not dark chocolate.
Once the chocolate has crystallised (you can do this the day before, or even further in advance), all you have to do is unroll the acetate sheet and the curls form as if by magic. For a truly optimal result, make sure you spread the chocolate thinly. The thicker the chocolate curls, the more sugar you add to this dessert (and visually, it’s less pretty too).
And if you’re a vanilla lover like me, don’t hesitate to browse the blog in search of other recipes (more or less difficult). I’m sure you’ll find something you like 🙂

Ingredients & Method
7 components · Full recipe
Vanilla praline (can be made ahead)
Ingredients
- 140 g (4.9 oz) almonds
- 4 vanilla pods
- 80 g (2.8 oz) sugar
- 1 pinch of fleur de sel
Method
1
Toast the almonds in the oven with the vanilla pods for about 30 minutes at 160°C / 325°F.
2
In a heavy-bottomed saucepan, make a dry caramel with the sugar, adding it in 3 batches. The caramel should reach a deep golden amber color. Watch it carefully as it colors very quickly at the end.
3
Pour the caramel onto a baking sheet lined with parchment paper or a silicone mat. Leave to cool completely.
4
Once everything (the caramel and almonds) is completely cold, break up the caramel slab and place it in a food processor along with the almonds, vanilla pods and fleur de sel.
5
Blend, pausing regularly to prevent the mixture from overheating, until you reach a praline consistency. The longer you blend, the more liquid it will become.
6
Pour the praline into 3 cm (1.2 in) diameter half-sphere molds and freeze. Your freezer should be very cold and not too full for it to set properly — feel free to prepare this in advance.
7
Store any remaining vanilla praline in an airtight container — it keeps for several months at room temperature. These quantities will leave you with some extra vanilla praline. It is really delicious and you can use it in other desserts. However, if you don’t need it and want to reduce the cost of the vanilla, you can halve the quantities 😉
Chocolate decorations (can be made ahead)
Ingredients
- 130 g (4.6 oz) white couverture chocolate
- ground vanilla
Method
1
Temper the white chocolate. To do this, I refer you to Maxime‘s article, which explains everything in detail.
2
Pour the white chocolate onto a guitar sheet, cover with a second guitar sheet, then spread the chocolate thinly using a rolling pin.
3
Wait for the chocolate to partially crystallize, then roll it around a tube of at most 2 cm (0.8 in) in diameter and allow to set completely overnight. You can do this step in advance.
4
The next day, gently unroll the chocolate sheet. The curls will form on their own. Store them in an airtight container at room temperature, or in the fridge if it is very warm. If you have trouble forming the curls, slightly warm the sheet with a heat gun.
Vanilla whipped ganache (start the day before)
Ingredients
- 75 g (2.6 oz) white chocolate
- 105 g (3.7 oz) full-fat whipping cream
- 1 vanilla pod
- 150 g (5.3 oz) very cold full-fat whipping cream
- 1.5 g (0.1 oz) powdered gelatine (= 3/4 of a sheet)
- 9 g (0.3 oz) water (to rehydrate the gelatine)
Method
1
Rehydrate the gelatine in water.
2
Break the white chocolate into pieces in a bowl (you can melt it slightly in a bain-marie or in the microwave).
3
Heat the 105 g (3.7 oz) of cream with the split and scraped vanilla pod in a saucepan and bring to a boil. Cover and leave to infuse for 30 minutes.
4
Remove the vanilla pod, then reheat the cream.
5
Off the heat, add the rehydrated gelatin and stir to combine.
6
Pour the cream over the white chocolate in 3 additions, emulsifying each time. The mixture should be smooth and homogeneous.
7
Add the 150 g (5.3 oz) of cold cream and stir again. Blend briefly with an immersion blender to ensure a perfectly smooth consistency.
8
Cover with plastic wrap directly on the surface and refrigerate overnight.
Sweet pastry (start 2 days ahead or the day before)
Ingredients
- 150 g (5.3 oz) butter
- 95 g (3.4 oz) icing sugar
- 30 g (1.1 oz) ground almonds
- 60 g (2.1 oz) eggs (1 large egg)
- 250 g (8.8 oz) plain flour
- 1 pinch of fleur de sel
- a knife tip of ground vanilla
Method
1
Place the softened butter and icing sugar in the bowl of a stand mixer fitted with the paddle attachment and mix on low speed. Add the ground almonds, vanilla powder, and fleur de sel, and mix again.
2
Then add the beaten egg and mix with a spatula (easier than using the mixer at this stage).
3
Finish with the flour and mix with the stand mixer until the dough comes together into a smooth ball. Do not overwork the dough. Bring it together gently, divide into two portions, flatten, wrap in plastic wrap, and refrigerate for at least 1 hour.
4
Wrap each dough ball in plastic wrap, shaping them into flattened rectangles. Refrigerate one overnight and freeze the other (to use for another tart).
5
The next day, roll out the dough to a thickness of 2–3 mm using a rolling pin, then cut out 8 rounds of dough larger than your moulds.
6
Grease 7 cm (2.8 in) diameter tartlet rings, then line with the pastry, pressing firmly to create a right angle at the base.
7
Refrigerate for at least 6 hours (ideally overnight). With this quantity of dough, you will have enough for the tartlets with some left over, which you can freeze for another dessert.
Baking the sweet pastry
Ingredients
- 1 egg yolk
- 2 g (0.1 oz) whipping cream
Method
1
Preheat the oven to 160°C / 325°F.
2
Once the dough is well chilled, trim any excess dough that overhangs using a small knife.
3
Place a sheet of parchment paper over the tart shell and weigh it down with baking beads or dried beans for blind baking. Note: if the tart shell has rested in the fridge overnight, you usually do not need to weigh it down.
4
Bake for 20 minutes, then remove from the oven, unmold, and leave to cool slightly.
5
Smooth out any imperfections in the dough using a Microplane grater if needed.
6
Brush the tart shell and edges (inside and outside) with a mixture of egg yolk and liquid cream to give them a glossy finish (the liquid cream represents approximately 10% of the weight of the yolk).
7
Continue baking for a further 10 to 15 minutes until the pastry is golden brown. Leave to cool on a wire rack.
Vanilla ganache
Ingredients
- 160 g (5.6 oz) white chocolate
- 160 g (5.6 oz) whipping cream
- 1 vanilla pod
Method
1
Heat the cream in a saucepan with the split and scraped vanilla pod. Cover and leave to infuse for 30 minutes.
2
Reheat the cream, then pour it over the white chocolate in 3 additions, emulsifying each time. The chocolate should be smooth and glossy.
3
Pour the ganache into the tart shells, leaving 2–3 mm of space at the top. Refrigerate to allow the ganache to set (if short on time, you can freeze them).
Assembling the 100% vanilla tartlets
Ingredients
- Aucun
Method
1
Unmold the vanilla praline inserts, then place one half-sphere of praline on each tartlet, centered.
2
Whip the vanilla ganache in a stand mixer until firm enough to pipe but still pliable. Transfer to a piping bag fitted with a smooth 20 mm nozzle.
3
Pipe a large ball of whipped ganache over the praline to form a dome of cream that reaches the edges of the tart.
4
Decorate with the white vanilla chocolate shavings, then dust with a little vanilla powder.
5
Leave to rest in the refrigerator for one hour before serving, to allow the praline insert to thaw.

Gallery