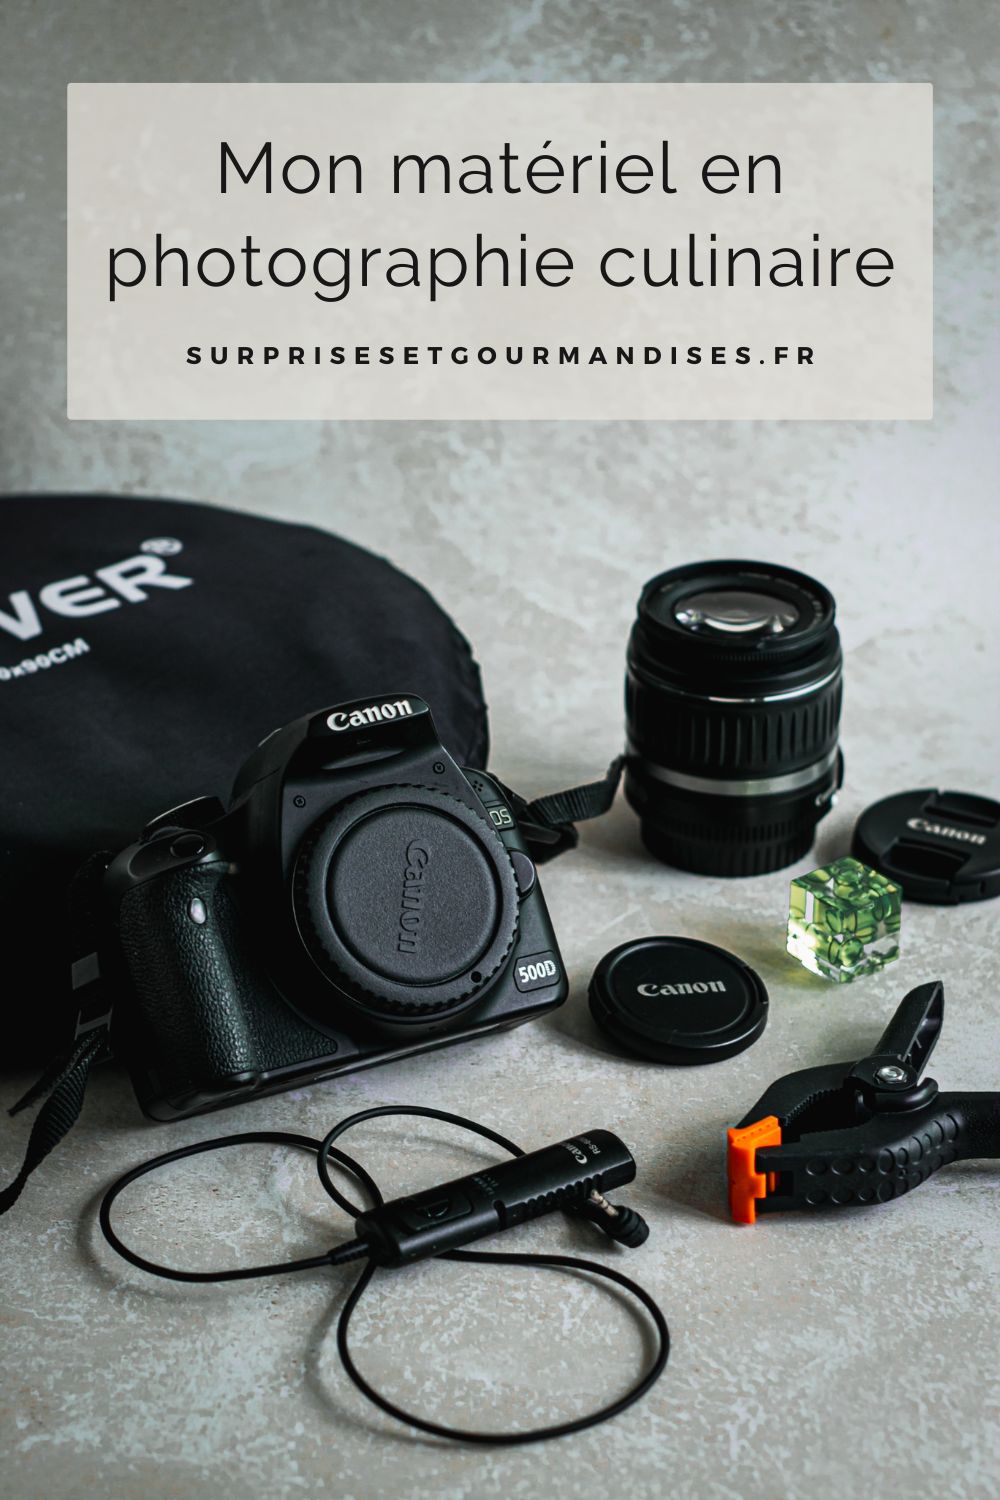
My Food Photography Setup
People often ask me what gear I use to photograph my recipes, so I decided to create a dedicated section to tell you everything. I should mention that I only started getting interested in food photography after the birth of my second son in October 2020 — it’s still fairly recent, and I don’t claim to know it all. I’m simply sharing my setup, which is perfectly suited for beginners and intermediates like me 🙂
1) Camera
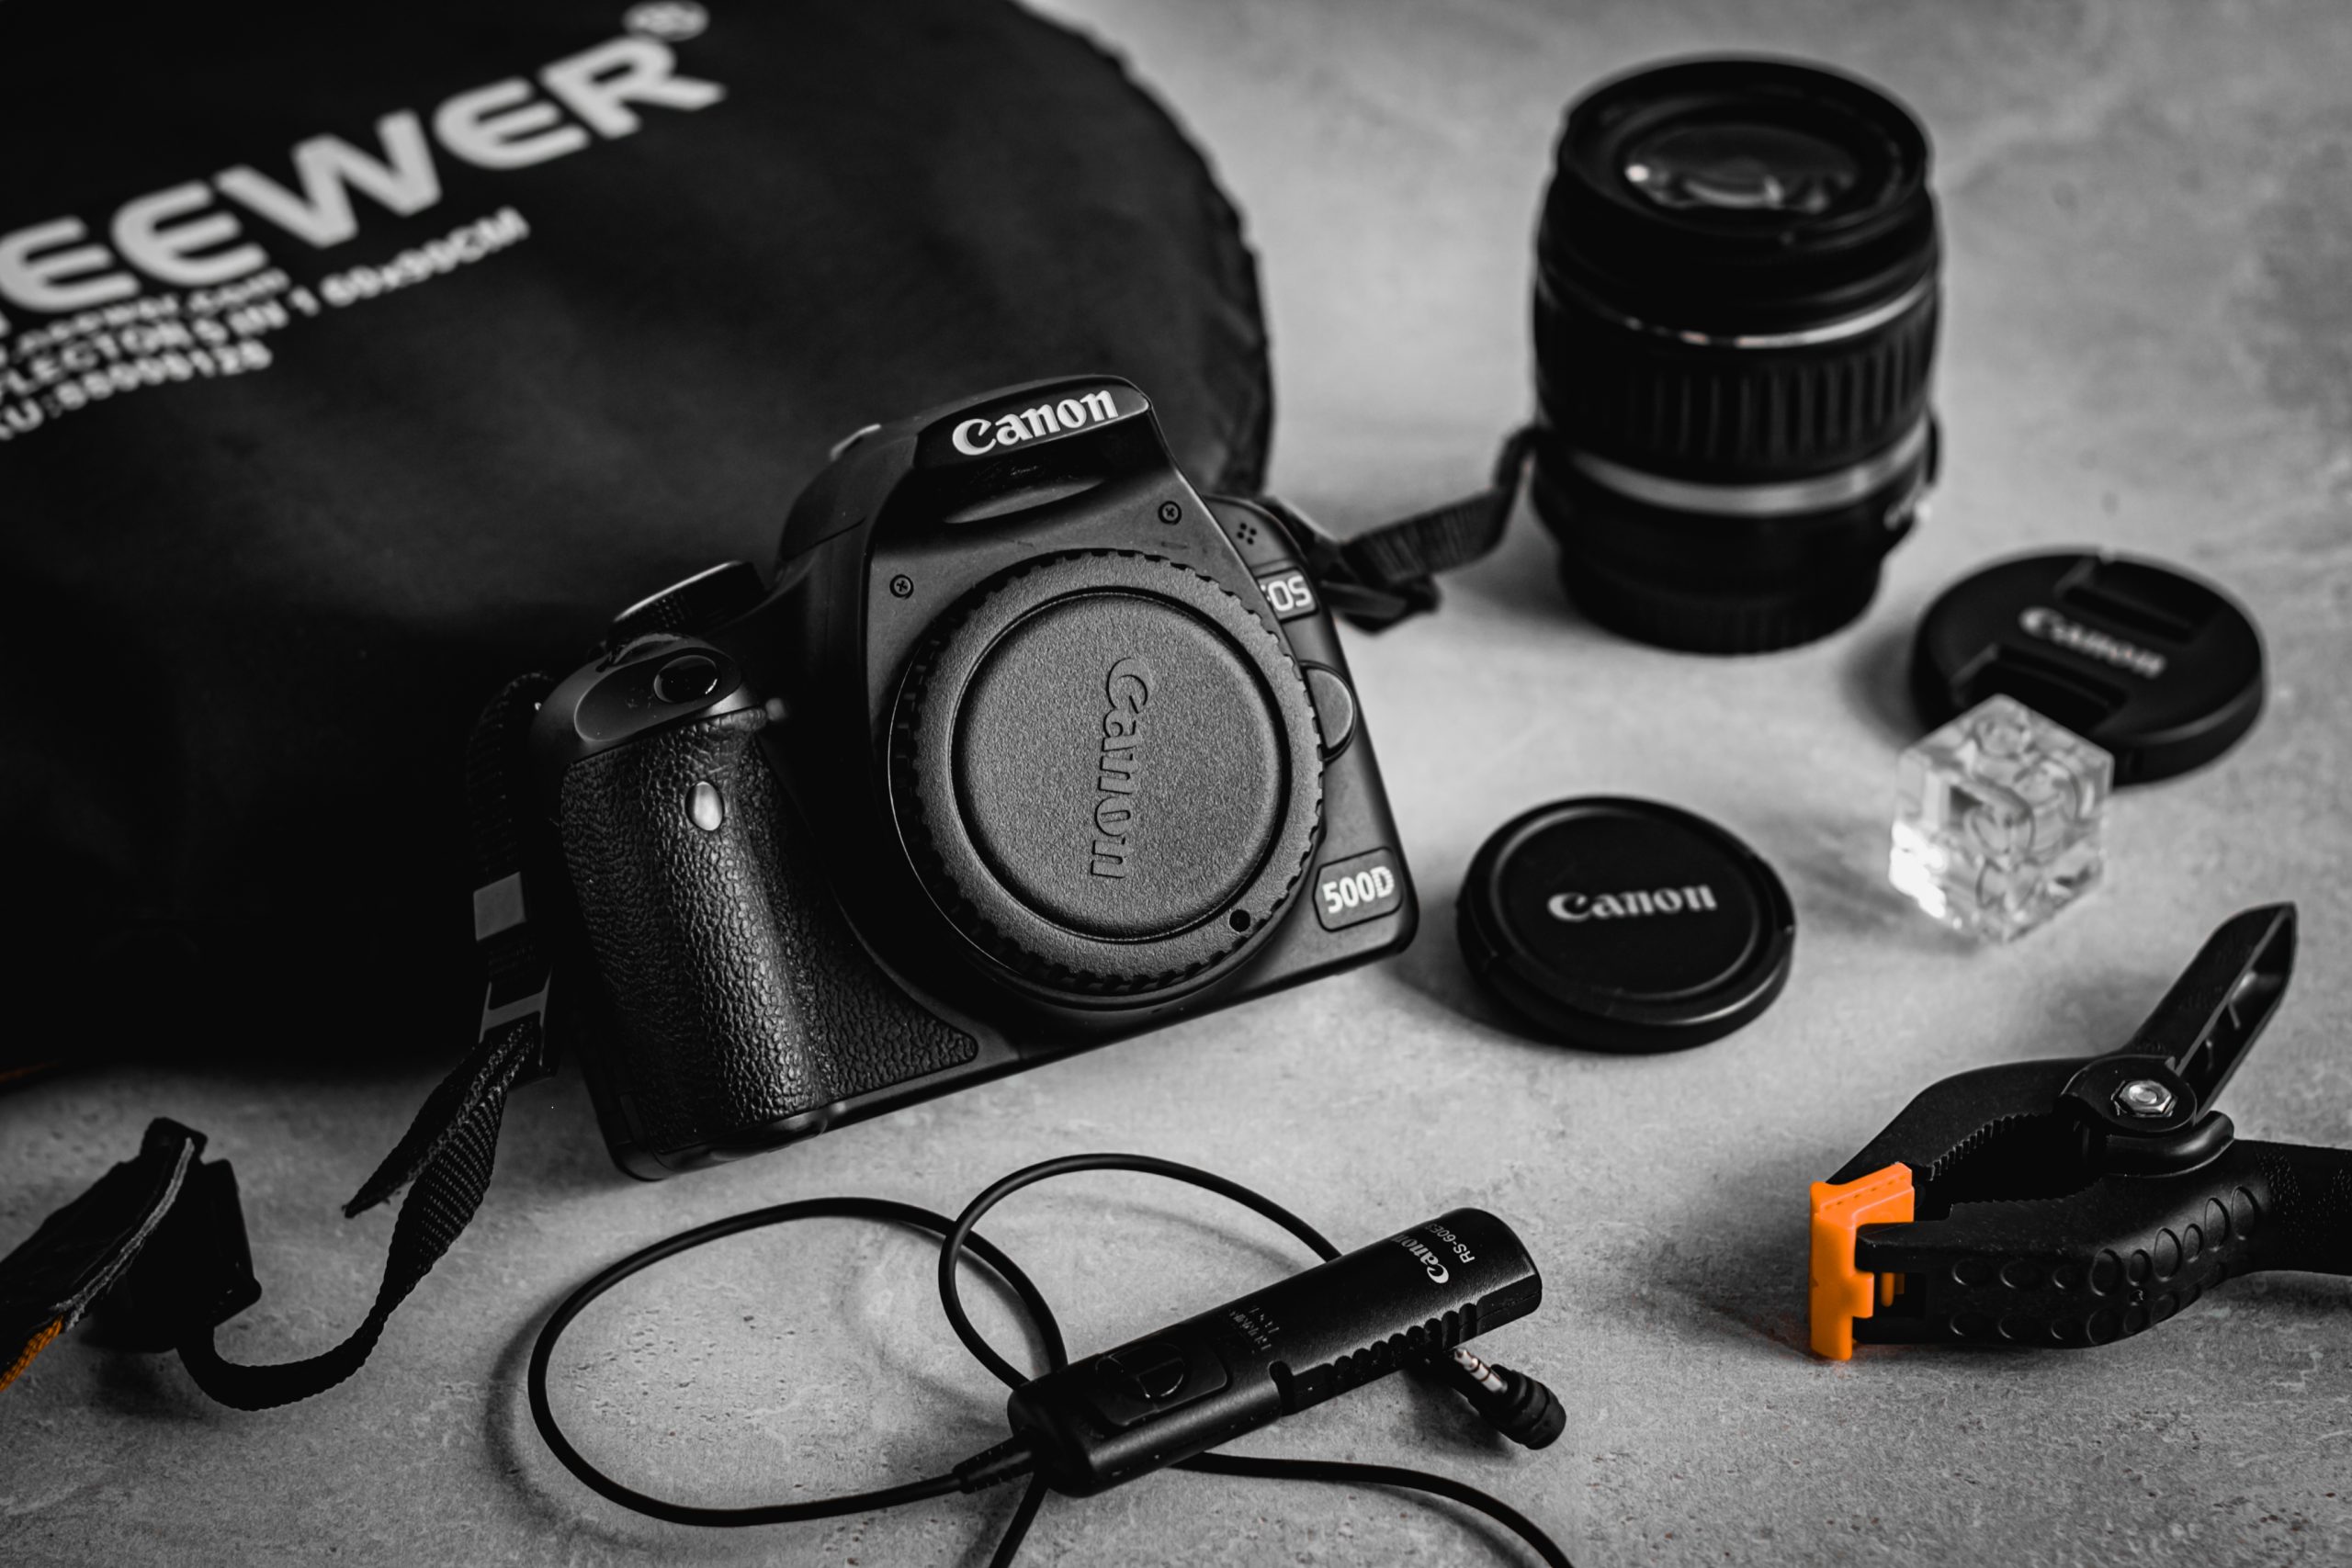
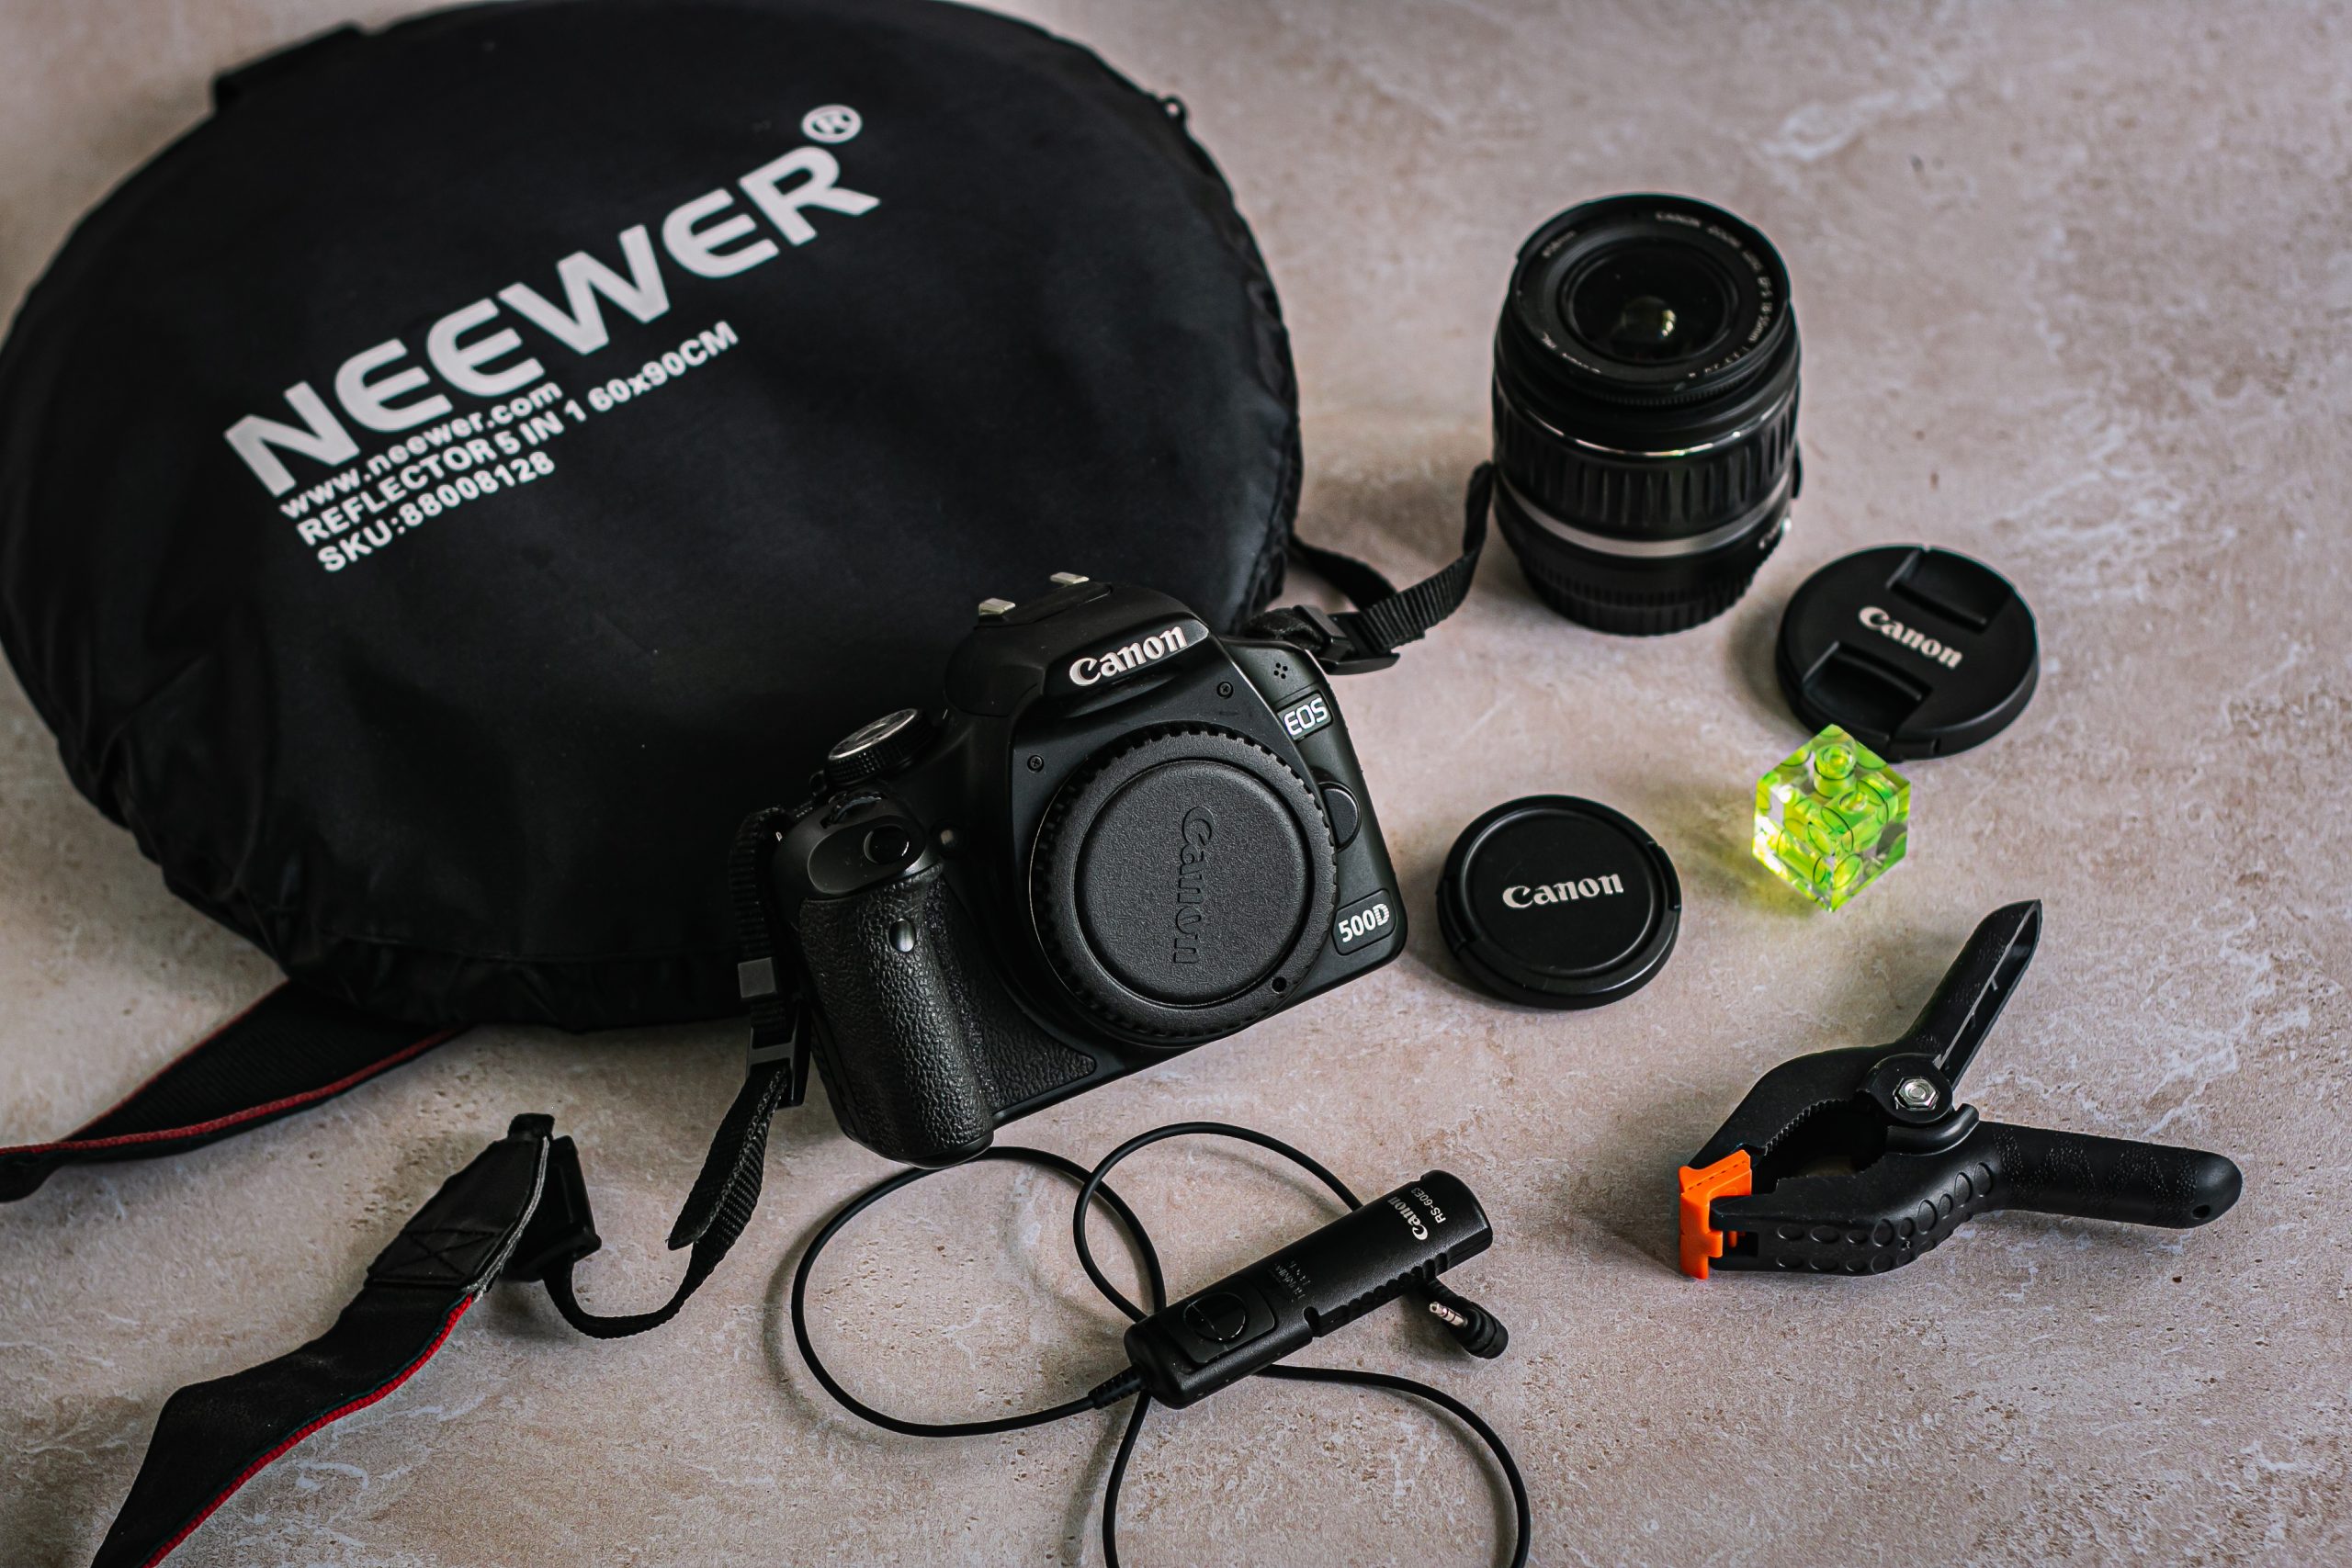
When I first started, I used a Canon 500D. The problem was that I didn’t really know how to use it properly — like a lot of people, I imagine, I mostly relied on automatic mode. When I began to take food photography seriously, my first step was to get some training (which is absolutely essential!). I’ll talk more about that too, because taking the time to learn and break out of auto mode really does make all the difference.

I found a great deal on Le Bon Coin (France’s second-hand marketplace) and upgraded my camera. I now use a Canon 70D. It has Wi-Fi, which makes it easy to shoot remotely. The flip-out screen is also really handy, as are the many focus points and other useful settings. That said, it’s still a fairly “mid-range” DSLR. For now, it suits me perfectly — I still have a lot to learn before moving up to a higher-end model.
2) Lenses
I use two lenses (though mainly one of them):
-
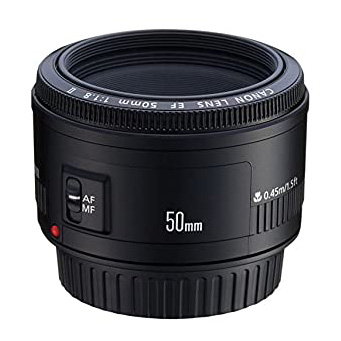
The 50mm – f/1.8 lens, which I bought at the same time as the Canon 70D and which has made all the difference. It’s the lens to have — the best value for money out there (around €100). It’s the one I use all the time. It produces beautifully bright photos with a gorgeous blurred background.

-
The 18-55mm – f/3.5-5.6 lens, which came bundled with my first DSLR, the Canon 500D. I thought I’d set it aside, but I do still reach for it occasionally when I want to shoot a dessert from a closer distance (the 50mm requires you to step back quite a bit). It’s obviously nothing like a true macro lens, but it does let me get a little closer.


3) Other gear
-
A tripod: a tripod is absolutely essential for food photography — and I’d even say that a tripod with a horizontal arm is the ultimate setup, since it lets you shoot flat-lay style (directly from above). I also bought mine second-hand, along with the rest of my equipment. It’s the Vanguard Alta Pro 263AT + SBH-100 ball head, a reference I discovered through Sandrine Saada (Fraise & basilic). Manfrotto tripods are also excellent quality.

-
A reflector/diffuser: I consider this another must-have accessory in photography, and the great thing is it’s very affordable. A reflector bounces light back onto the subject to soften shadows. A diffuser, on the other hand, creates a softer light and is placed in front of the light source. I bought the Neewer 5-in-1, which has multiple surfaces (gold, silver, white, black and translucent) and folds up neatly into a carry case. That said, I usually just use a large white foam board as a reflector and a white fitted sheet hung over my window as a diffuser — so you can definitely improvise 😉

-
A spirit level: it might seem like a gimmick, but I find it genuinely useful. It’s very cheap and clips straight onto the camera.

-
Clips: another accessory I use every single shoot — they’re what I use to hold my vinyl backdrops in place (more on that below). They usually come in packs of six, which is the right amount!

-
A remote shutter release: a tiny investment (under €15) that I consider essential. You plug it directly into the camera and trigger the shutter from a distance. It’s really useful for action shots or when I want to appear in the photo myself.

- A spare battery: when I bought the Canon 70D, it came with a load of extra accessories including a second battery. I can tell you, it’s not a luxury. I alternate between the two (keeping one fully charged in my camera bag at all times), so I never run out of power mid-shoot.
- SD cards: I have several, but my main one is a 64 GB card (150 MB/s) — though I’m starting to see its limits. I really should get a card with more capacity (RAW files take up a lot of space) and a faster write speed (which matters for burst shooting).
- An external hard drive: on the advice of Sarah, I bought the Seagate Ultra Touch 1 TB, which is very reasonably priced. It lets me back up my photos somewhere other than my PC.


4) Artificial lighting
I invested in an artificial lighting kit (also bought second-hand), thinking it would come in handy in winter for shooting in the evenings once the kids are in bed — but honestly, I haven’t had the chance to use it yet (or to learn how to use it, more to the point). I’ll update this section in the future.

5) Photo backdrops
Backdrops are an essential prop in food photography. There are many places to buy them — both in France and abroad. Personally, I’m a huge fan of the backdrops from Justine at pastryandtravel.com. They’re vinyl backdrops, 100% made in France, printed on a very durable material that can be wiped clean with a damp cloth (so incredibly practical). As an added bonus, they’re printed with eco-friendly inks. You can find light ones, dark ones, wood or tile effects, plain colours (great for packshot or cosmetics photography) and so much more. I must have around twenty of them and I never get tired of them. They come in various sizes — I use the 60×90 cm format, which feels ideal for food photography. You can find them directly in the shop on the homepage.
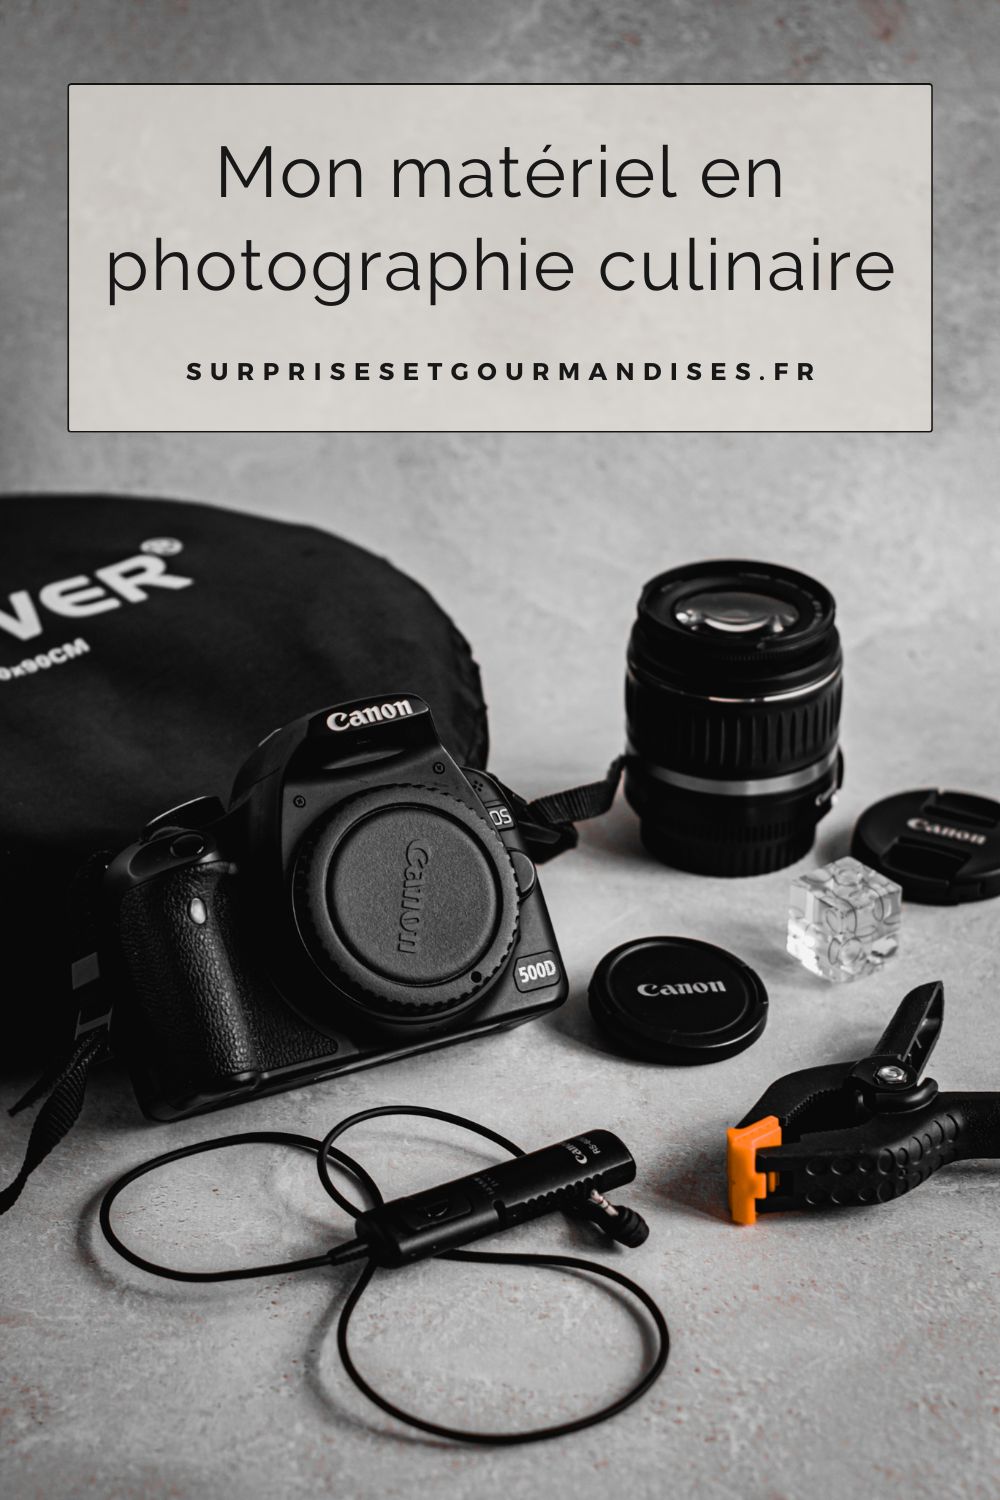
If you want to know even more about photo backdrops and how to use them in food photography, I’d point you to the article Justine wrote on her blog: Photo backdrops: everything you need to know and how to use them in food photography.
It’s also possible to make your own backdrops at home using MDF boards and paint. I actually bought all the materials to do this, started the project and never finished it (I’m not very handy).
6) Tableware
It would be very easy to spend a fortune on tableware if you let yourself. My first piece of advice is to go through what you already own (including things you might not be using), and to ask your mother-in-law or grandma whether they have any vintage pieces they’d like to pass on — you never know!
Since getting into photography, I’ve come to love browsing flea markets and second-hand shops — you find beautiful pieces at unbeatable prices (and personally, I prefer using vintage over new). If you have an Emmaus nearby, go!
For retail, there’s Sostrene Grene or Action for budget buys, and Zodio, H&M Home or Maisons du Monde for a slightly wider range.
7) Photo editing
- Lightroom: my PC is getting on in years and can’t handle RAW files, so for now I work on the mobile version (paid, €5/month). There are an enormous number of options, even on the mobile app.
- Photoshop: I use Photoshop when I haven’t been able to fix small imperfections with Lightroom.
Of course, I didn’t buy all this equipment at once. Food photography can be expensive — very expensive. A lot of it can be bought second-hand to start with, and you can build up your kit gradually over time.
I think that just about covers everything! If you have any questions about the gear I use (or anything else), feel free to leave a comment below — I’d be happy to answer 🙂
Article written in collaboration with Pastryandtravel.