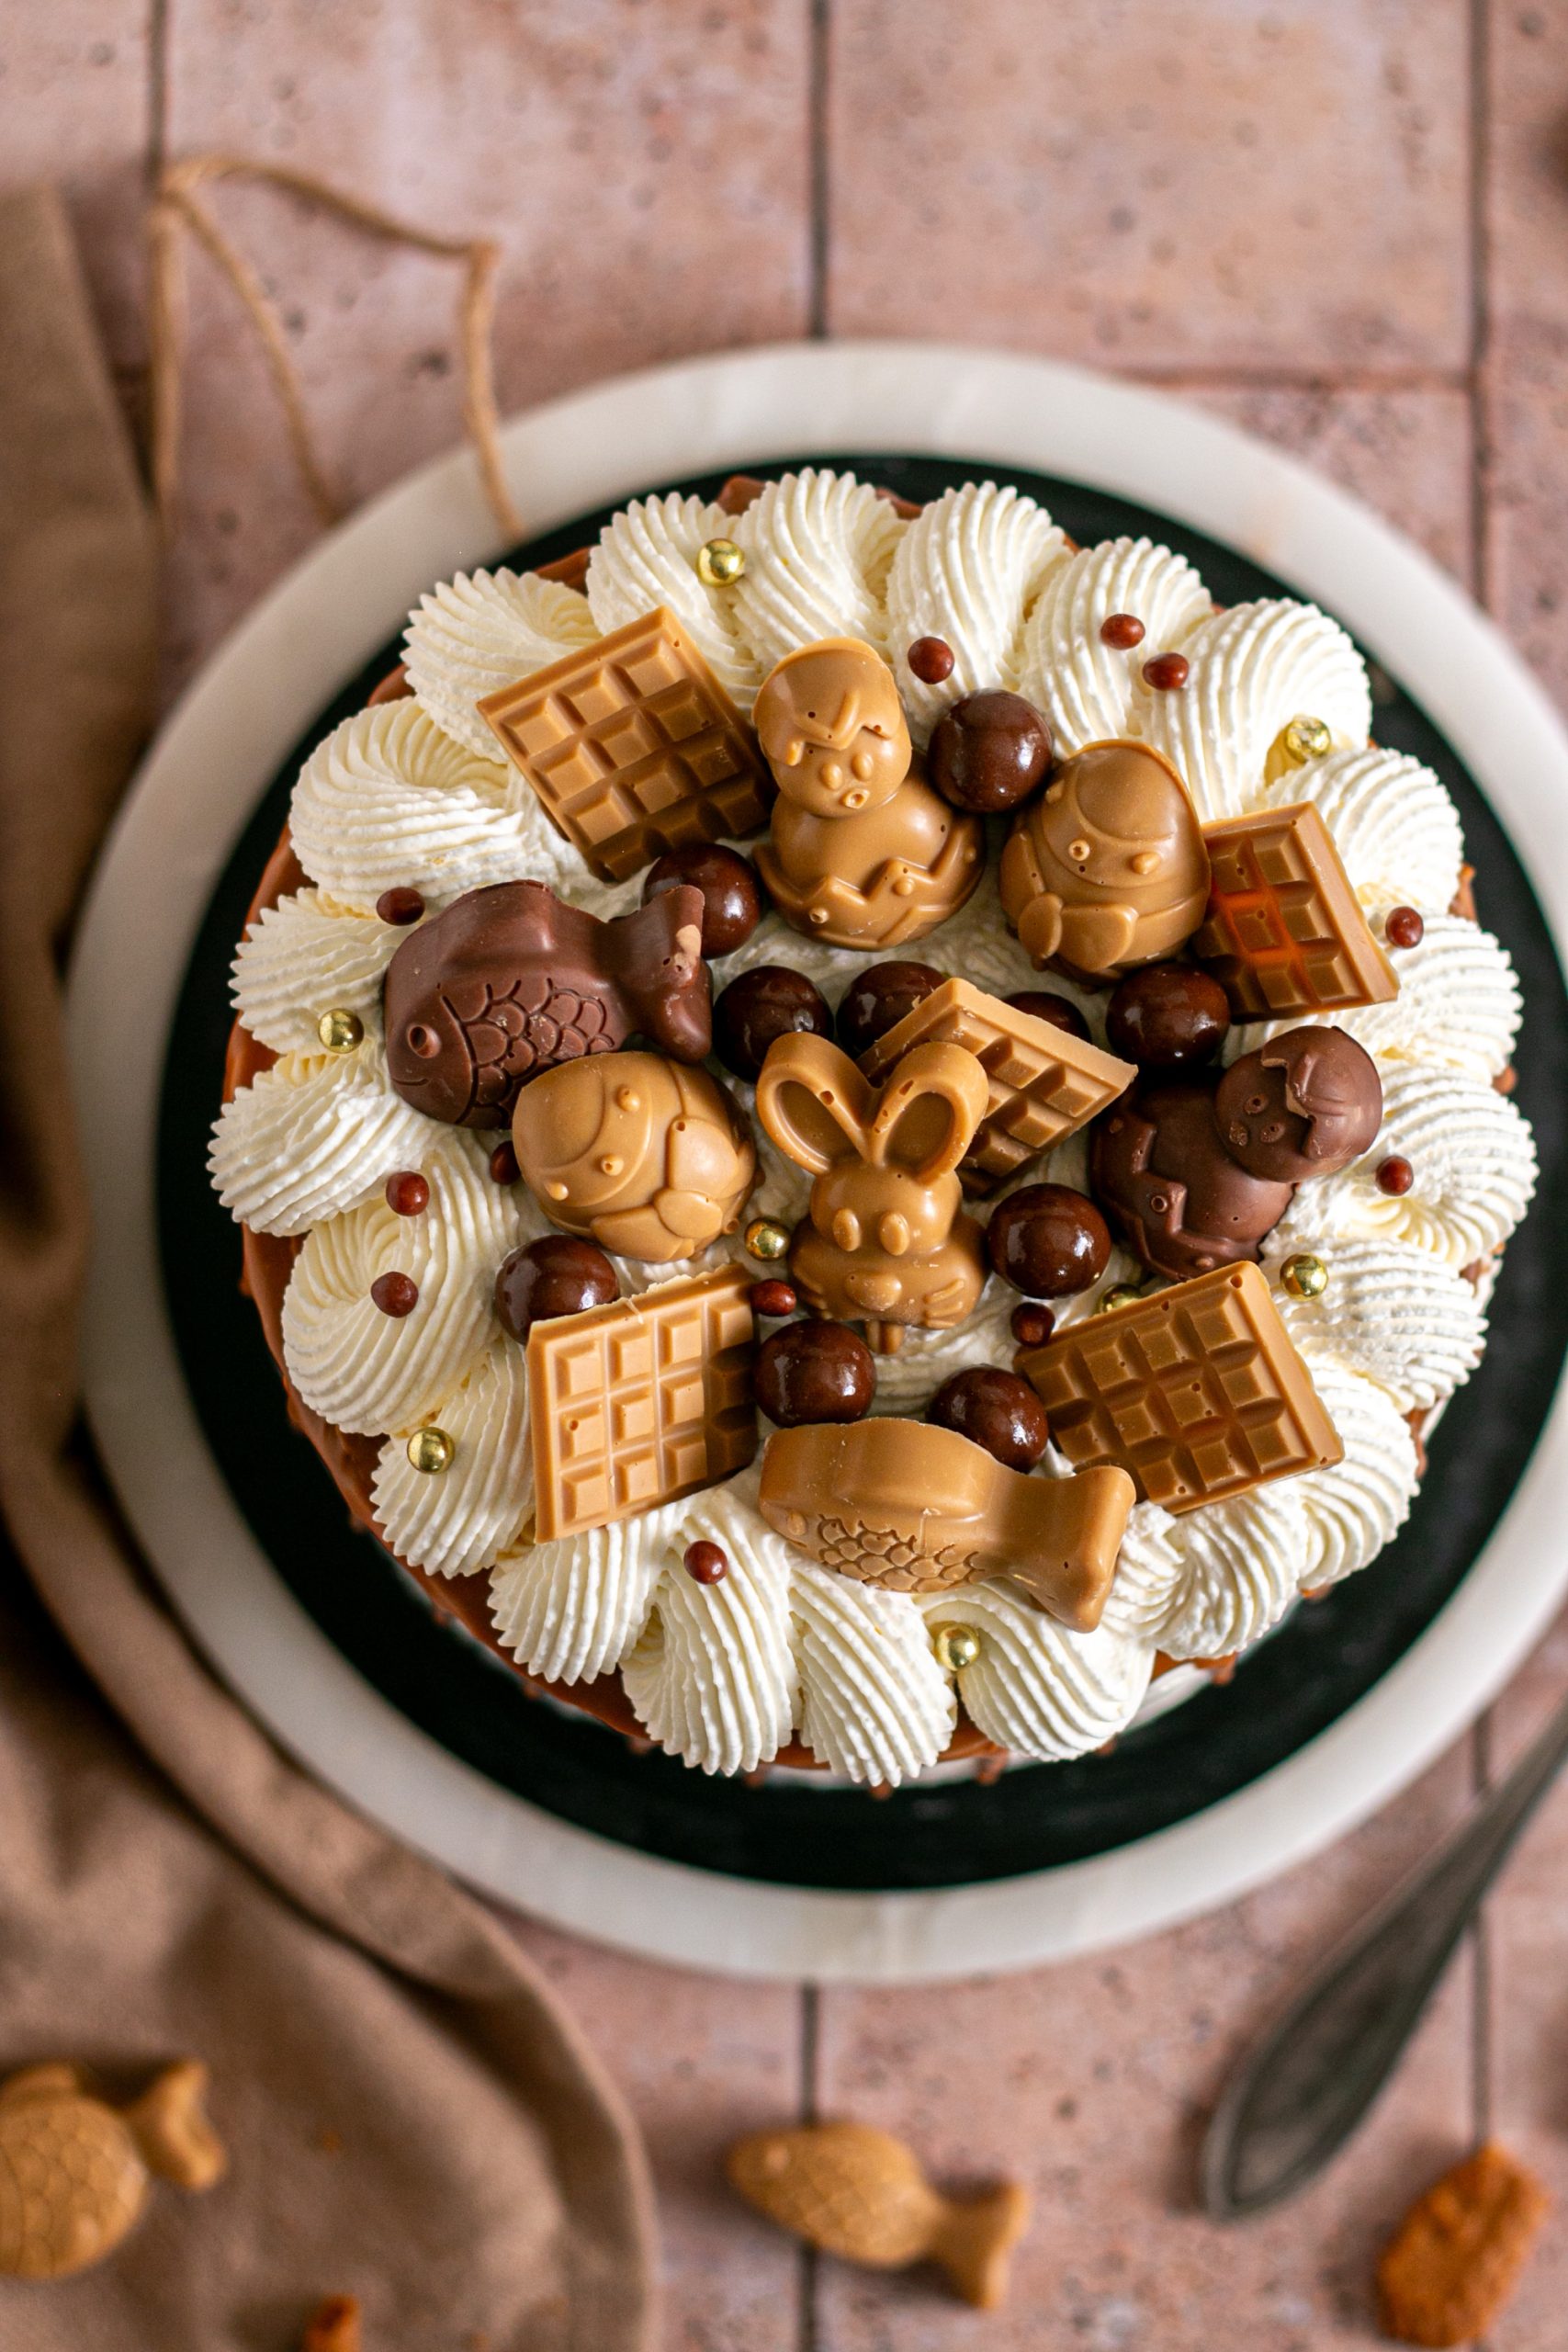
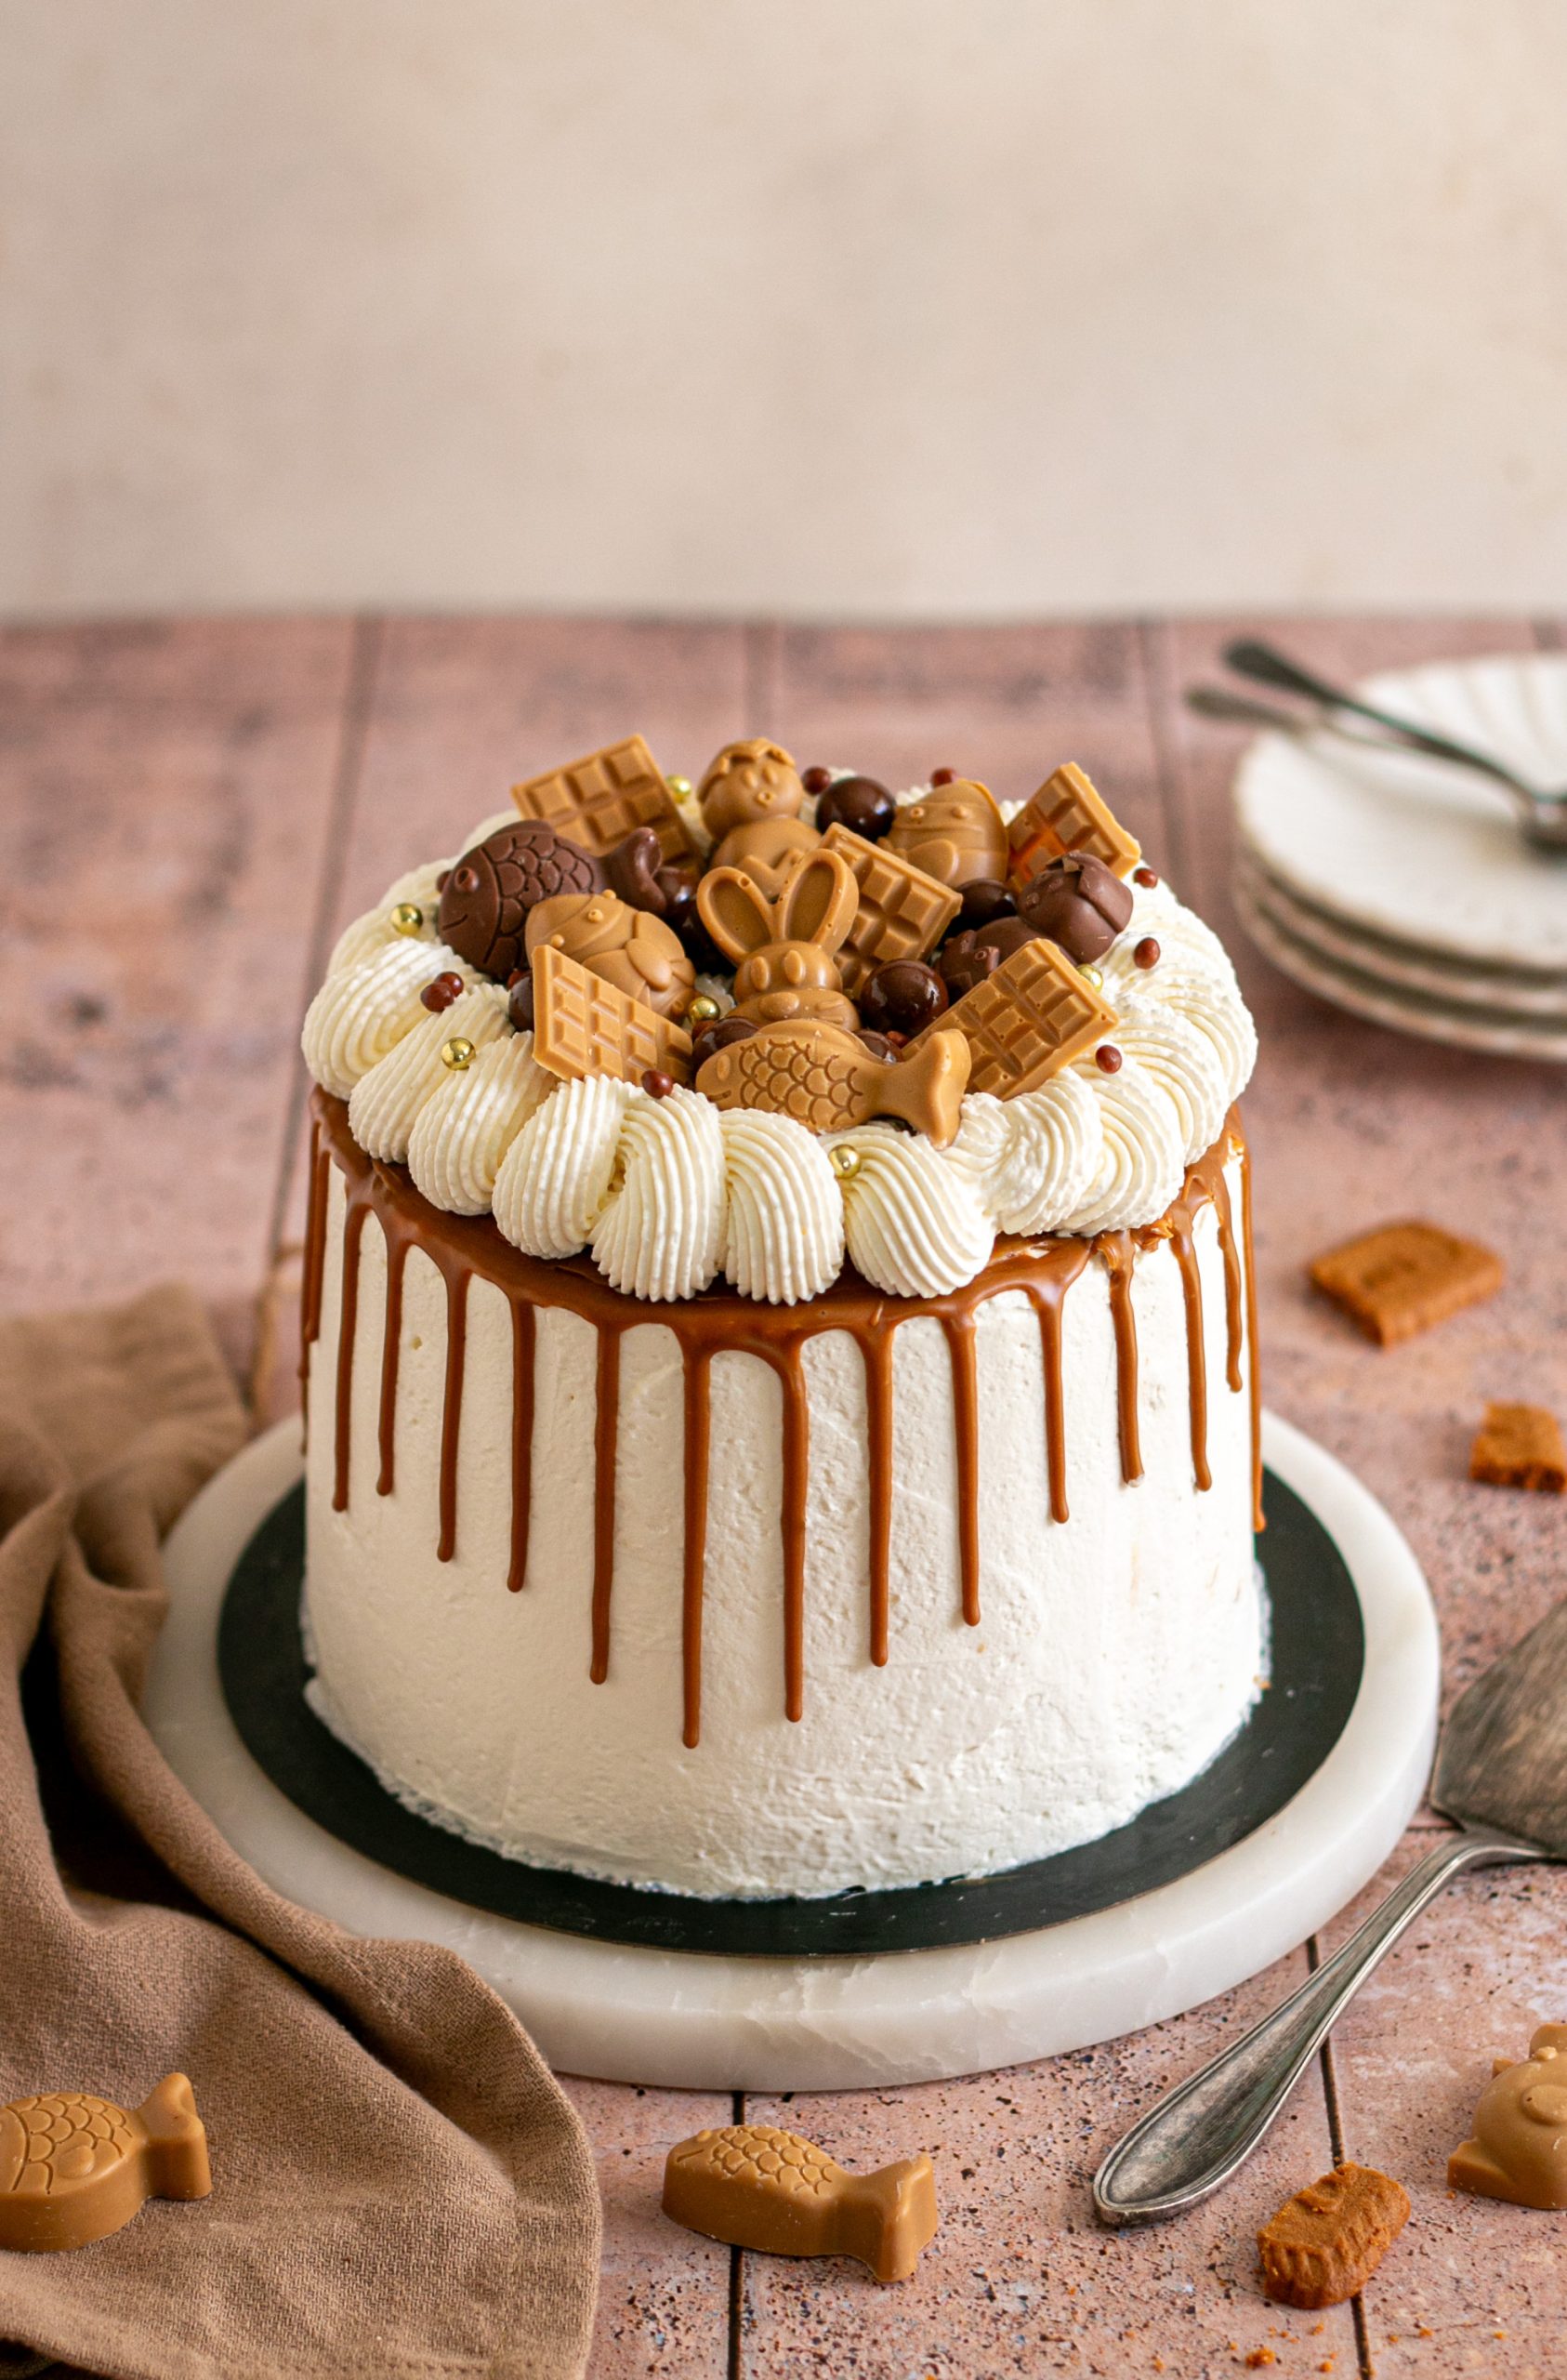
When we think of Easter, we immediately think of a chocolate dessert. But why not step off the beaten track with a dessert that is just as festive and indulgent? This speculoos layer cake, ultra soft and fluffy, is an excellent alternative to surprise your guests. Made from a vanilla molly cake, a speculoos mascarpone cream for the inside and a light mascarpone cream for the outside, this layered cake is both refined and ultra indulgent. For an even more festive touch, I decorated the top with little Easter chocolates, made using the Scrapcooking silicone moulds. A perfect recipe for combining tradition and originality!
How do you make a perfect layer cake?
The secret to a successful layer cake is, above all, the balance between soft layers of cake and a smooth cream. To achieve this, it’s important to bake and cool the molly cake properly before cutting it into even slices. To get perfectly even layers without having to cut the cake, the 5 Scrapcooking moulds are the ideal option! By dividing the batter equally between each mould, you get uniform cake discs, which makes assembly easier.
Each disc must then be topped with an even layer of speculoos mascarpone cream, making sure to smooth everything out well. Once the assembly is complete, a first thin layer of cream is applied to the outside of the cake, called the “crumb coat”, to trap the crumbs and guarantee a clean finish. After a spell in the fridge, cover with a final, perfectly smooth layer for an impeccable effect.
What are the essential tools for making a layer cake?
Making a layer cake requires a minimum of equipment for easy and precise assembly. Here are the must-haves that really helped me:
- A turntable, essential for smoothing the cream evenly.
- An offset spatula, ideal for spreading the cream precisely.
- A cake scraper, perfect for a clean, even finish.
- A piping bag and a nozzle (plain or fluted), perfect for creating refined decorations or for filling the cake precisely.
- Silicone moulds, for creating pretty chocolate decorations and personalising your cake.
All these utensils are available on the Scrapcooking website, perfect for kitting yourself out like a pro!
Why choose a mascarpone cream rather than a buttercream?
While buttercream is often used in pastry to cover layer cakes, it can quickly become very rich and heavy on the palate. By contrast, mascarpone cream brings a lighter, airier texture, while remaining firm enough to hold well on the cake. Its delicately sweet taste brings out the flavours of the molly cake and the speculoos even more, without being cloying. It’s the perfect option for an indulgent yet balanced dessert!
To get a mascarpone chantilly that is both firm and light, it’s important to measure the ingredients carefully. Too much mascarpone will make the cream too dense, while too much liquid cream will affect its consistency. In general, a ratio of 250 g of mascarpone to 200 g of liquid cream works well, but for my recipe, I preferred to go with a ratio of 250 g of mascarpone to 250 g of liquid cream. This proportion gives good hold without being too rich.
Here are a few tips to get it right every time:
- Use very cold ingredients, in particular the full-fat liquid cream (minimum 30% fat) and the mascarpone.
- Whip at medium speed, gradually adding icing sugar for a firm, airy texture.
- Stop as soon as the cream is whipped, to prevent it from splitting and becoming grainy.
Mascarpone chantilly keeps in the fridge, in an airtight container, for 24 to 48 hours. To prevent it from drying out, cover it with cling film pressed against the surface. If it loses a little hold, whip it briefly before use.
How do you make a “drip cake” with speculoos spread?
The drip cake is a decorating technique that consists of letting a glaze run harmoniously down the sides of the cake. For this recipe, I used speculoos spread, which brings a lot of indulgence. Here’s how to go about it:
- Gently warm the speculoos spread, just enough to make it fluid.
- Leave to cool for a few minutes, so that it flows in a controlled way without being too runny.
- Gently apply it to the cake using a piping bag, making sure to create pretty drips down the sides.
With these tips and the utensils available from Scrapcooking, you have all the keys in hand to make a speculoos layer cake that is as beautiful as it is delicious. Just what you need to celebrate Easter with a touch of sweetness and originality!

Ingredients & Method
6 components · Full recipe
Molly Cake (make the day before)
Ingredients
- 3 eggs
- 155 g (5.5 oz) flour
- 250 g (8.8 oz) caster sugar
- 8 g (0.3 oz) baking powder
- ½ tsp bicarbonate of soda
- 1 pinch of salt
- 250 g (8.8 oz) full-fat double cream
- 1 tsp liquid vanilla extract
Method
1
Preheat the oven to 160°C / 325°F.
2
Lightly grease the 5 Scrapcooking moulds (I didn’t do this and there was no disaster, but if I were to do it again, I would prefer to grease them slightly to make unmoulding easier).
3
In a bowl, whisk the eggs, sugar and liquid vanilla extract for 5 minutes. The mixture will turn pale, increase in volume and become foamy.
4
In another bowl, sift together the flour, baking powder, bicarbonate of soda and pinch of salt.
5
Add the dry ingredients to the first mixture. Mix with a spatula and set aside.
6
Meanwhile, whip the double cream into Chantilly then fold it gently into the previous mixture, still using a spatula.
7
Weigh the batter to be able to divide it into 5 (I obtained 900 g (31.7 oz) of batter).
8
Pour 160 g (5.6 oz) of batter into each mould and bake for approximately 25 minutes without opening the oven door (the baking time depends on your oven, you will need to keep an eye on it…).
9
Before unmoulding the cakes, leave them to cool for about ten minutes. Then leave them to cool completely on a wire rack. For reference, I had poured 177 g (6.2 oz) of batter into each mould but that was a little too much and I had to cut off what was overflowing from the mould.
Soaking Syrup (make the day before)
Ingredients
- 100 g (3.5 oz) water
- 100 g (3.5 oz) sugar
- 1 tsp vanilla extract
Syrup
1
Heat all the ingredients until the sugar has dissolved.
2
Set aside at room temperature.
Speculoos Mascarpone Cream (make the day before)
Ingredients
- 250 g (8.8 oz) full-fat double cream
- 250 g (8.8 oz) mascarpone
- 2 tbsp icing sugar
- 3 tbsp speculoos paste
Method
1
Place the bowl and whisk beaters in the freezer for 10 minutes. You can also use a stand mixer.
2
Whisk the double cream and mascarpone at medium speed then add the icing sugar and continue whisking until you obtain a soft Chantilly.
3
Add the speculoos paste and whisk again. You should now obtain a slightly firmer texture that holds on the whisk.
4
Fill a piping bag fitted with a smooth 15 mm nozzle and set aside for assembly.
Assembly (make the day before)
Ingredients
- the speculoos mascarpone cream
- speculoos paste
Assembly
1
Place the first sponge on a cake board then on your turntable. I recommend putting a little cream on the board so the sponge adheres well.
2
Soak the sponge with the sugar syrup using a pastry brush.
3
Pipe the speculoos mascarpone Chantilly in a spiral starting from the centre and smooth with a small offset spatula.
4
Pipe a small swirl of speculoos paste on top then cover with a new sponge layer.
5
Repeat with the speculoos mascarpone cream and speculoos paste until all the sponge layers have been used.
6
Cover the sides of the cake with a thin layer of speculoos cream to fill any small gaps. It doesn’t need to be perfect since the cake will be covered with the coating cream.
7
Cover the cake with cling film and place in the fridge overnight. It is of course entirely possible to make the cake in its entirety on the same day. Personally, I like to be able to organise myself and spread the work, so I assembled the cake the day before and finished it the next day.
Coating Cream
Ingredients
- 400 g (14.1 oz) mascarpone
- 400 g (14.1 oz) full-fat double cream
- 5 to 6 tbsp icing sugar
Method
1
Place the bowl and whisk beaters in the freezer for 10 minutes. You can also use a stand mixer.
2
Whisk the double cream and mascarpone at medium speed then add the icing sugar and continue whisking until you obtain a Chantilly. You should obtain a fairly firm texture that holds on the whisk.
3
Place three-quarters of the cream in a piping bag fitted with a smooth 15 mm nozzle and the remaining quarter in another piping bag fitted with a fluted 18 mm nozzle. Set aside.
Decoration
Ingredients
- speculoos paste
- the remaining coating cream
- small Easter chocolates
- chocolate pearls
Method
1
Article written in collaboration with Scrapcooking.
2
Place the cake back on a turntable.
3
Apply the coating cream (the piping bag with three-quarters of the cream) all over the cake, on the sides and top, smoothing everything with a cake scraper. Refrigerate for 30 minutes.
4
Warm the speculoos paste (about twenty seconds at 400W) and fill a small piping bag (no nozzle needed). This will be used to create the drips on the layer cake.
5
To do this, pipe a little speculoos paste along the top edge of the cake every 2 cm (0.8 in) or so, then also cover the top of the cake with speculoos paste.
6
Pipe the remaining coating cream on top of the cake to create a small Easter nest that will hold the chocolate decorations. I piped cream all around the edge of the cake but also in the centre so the speculoos paste is no longer visible.
7
Place small chocolate decorations here and there that you will have previously made with the Scrapcooking silicone moulds. You can also add small chocolate decorations (balls).
8
Set aside in the fridge until ready to serve. It was my first time making a “drip cake”. I won’t hide the fact that I didn’t get it right on the first try. The speculoos paste was too set, then too liquid and set again. Either it wouldn’t drip or it dripped all the way to the bottom. The good news, as you can see in the photos, is that it can be rescued since I was able to remove the drips and start again.

Gallery