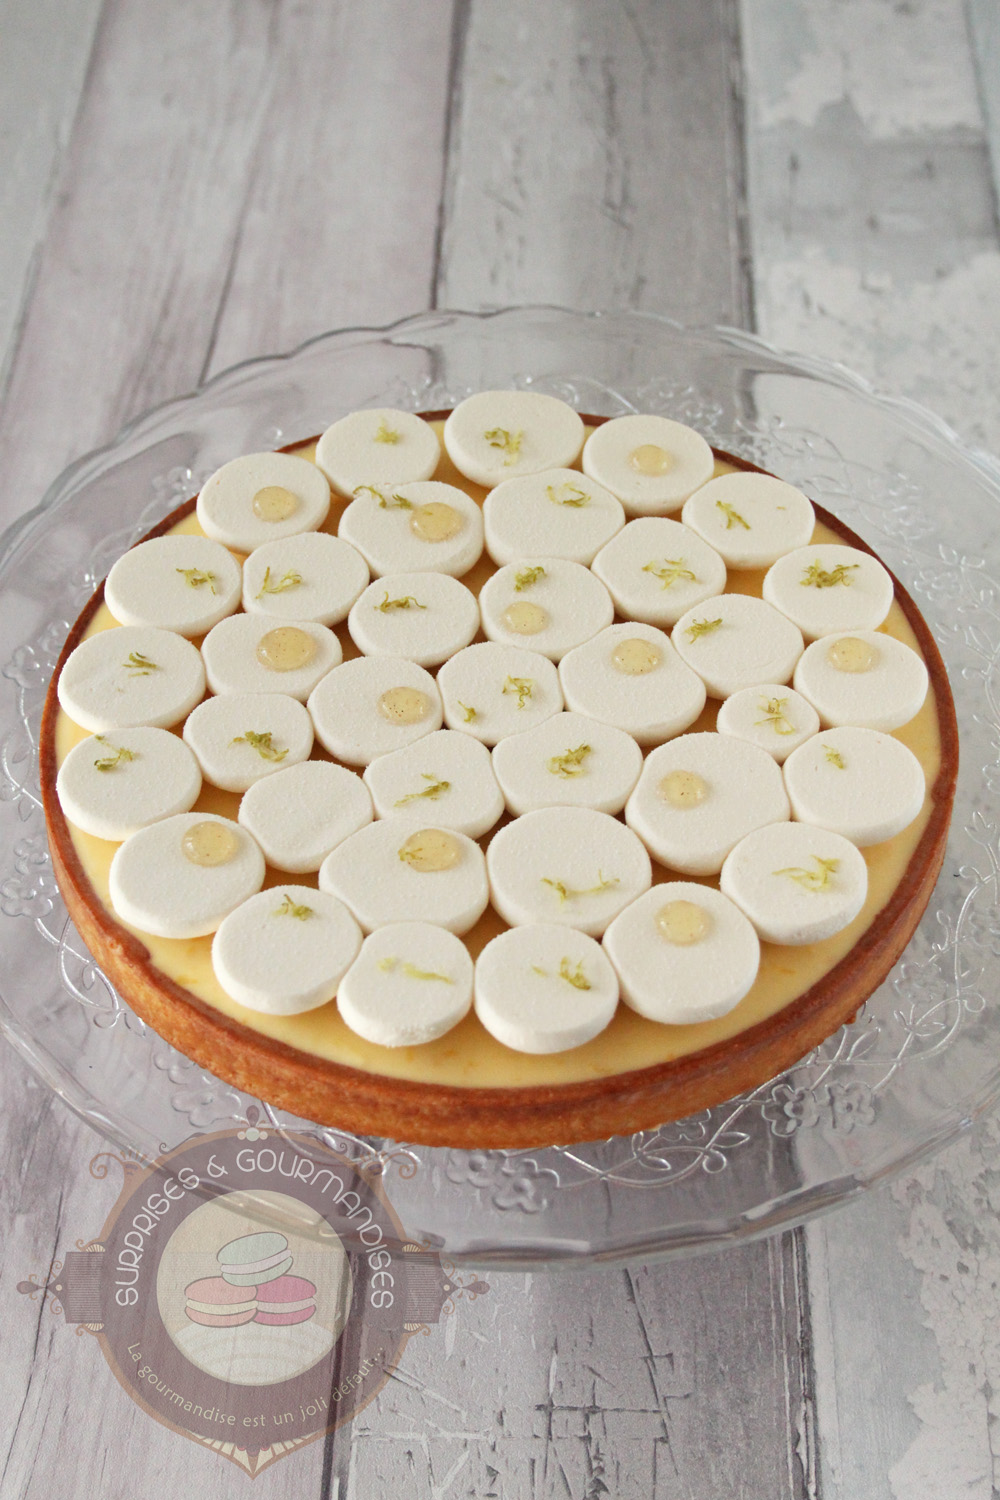
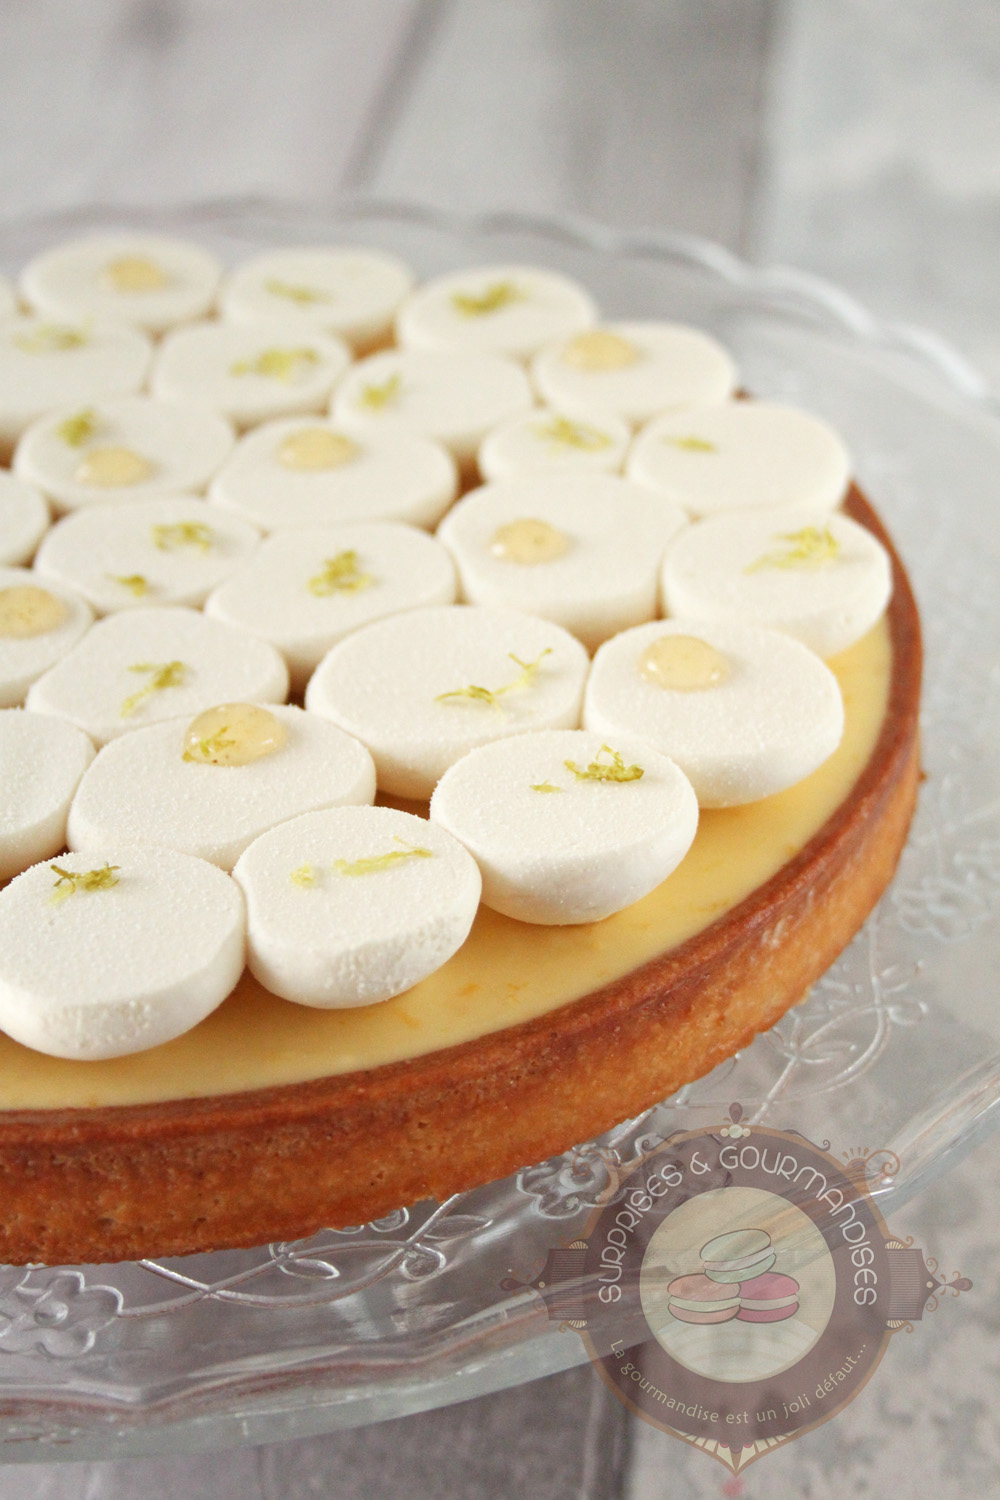
This lime and yuzu tart really caught my eye. Not necessarily this particular tart recipe, but that cream piping that’s so simple to do and looks absolutely stunning! I started seeing more and more tarts and even entremets with a finish like this, and it was only later that I learned we owe it to Jeffrey Cagnes.
Head pastry chef at the oldest pâtisserie in Paris, Stohrer, he’s trying to modernise some of the shop’s desserts, including the famous lemon tart. I think the gamble has rather paid off! When, on top of that, I discover there’s yuzu in it (and I still have some left), then I’m off!
The recipe was published in issue 33 of Fou de Pâtisserie. But I used a few tips given by Sybille on her blog to make it. I recalculated the proportions given by the magazine to make a 22 cm diameter tart. The only difference is the pâte sucrée, which was made with cream, something I didn’t have at the time of making it. So I took the recipe from La pâte de Dom along with all his tips on video to try to make a magnificent tart base (lining + baking). There’s no denying it, patience pays off! I had never managed to get this result before (and I’m still far from matching Dom, but I’m working on it!).
Why patience? Because once the dough is made, it has to rest overnight in the fridge, then once the ring is lined (and in a slightly more technical way, first the edges then the base), it has to rest again for at least 6 hours in the fridge. This way, the dough doesn’t lose its shape or shrink. It’s just perfect! And no more need for weights for blind baking.
And for a lovely shiny finish, you brush it with a yolk/cream mixture halfway through baking, even on the outside (something I’d never done until then). I’m keeping it short, but really, don’t hesitate to go to his YouTube channel to get the full process; everything is perfectly explained and filmed (truly professional work).
When writing up the recipe, I asked myself whether I should rewrite the different lining and baking steps as explained by Dom. Firstly, I thought that without supporting photos, it could be a bit complicated to understand (and I don’t have time to do that), and secondly, I’d feel a bit like I was stealing his work. So I’m sending you straight to his video if you want to give it a go, BUT here, I’m giving you a more traditional way of lining a tart ring, in one go, with a circle of dough larger than the tart ring. In short, you can do it the way you usually do; if you’re happy with your method, carry on like that!
As for the tasting, this tart was a great success. Visually first of all, it went down very well (even though I was told it looked like hard-boiled eggs LOL). Everyone enjoyed it, including me, and I’m not a fan of lemon to begin with. I love yuzu, on the other hand; it really gives this lemon tart a little something extra. The whole thing is super tangy. As for the pâte sucrée, I think it’s the first time I’ve taken pleasure in eating it; it was delicious and perfectly baked.
Ingredients & method
7 components · Full recipe
Sweet pastry dough (makes 2 tarts, 22 cm (8.7 in) — start 2 days ahead or the day before)
Ingredients
- 150 g (5.3 oz) butter
- 95 g (3.4 oz) icing sugar
- 30 g (1.1 oz) ground almonds
- 60 g (2.1 oz) egg (one large egg)
- 250 g (8.8 oz) plain flour
- a pinch of fleur de sel
- a knife-tip of vanilla powder
- 1 egg yolk
- 4 g (0.1 oz) full-fat cream
Method
1
Place the softened butter and icing sugar in the bowl of a stand mixer fitted with the paddle attachment and mix on low speed. Add the ground almonds, vanilla powder and fleur de sel and mix again.
2
Add the beaten egg and mix with a spatula this time (it’s easier than using the mixer).
3
Finish by adding the flour and mix with the machine until you have a smooth ball of dough. Don’t overwork it. Bring the dough together into a ball without pressing. Divide into 2 equal portions.
4
Wrap each portion in cling film, flattening into a rectangle. Refrigerate one overnight and freeze the other (for a future tart).
5
The next day, roll the pastry out to 2–3 mm thickness. Cut out a 25 cm (9.8 in) disc and refrigerate for 15 minutes so it’s easier to handle.
6
Grease the tart ring then line it with the pastry, making sure to create a clean right angle. Refrigerate for at least 6 hours (ideally).
7
Preheat the oven to 160°C / 325°F.
8
Once the pastry is very cold, trim the overhanging edges with a small knife.
9
Place a sheet of baking paper on the pastry and weigh it down with baking beads or dried beans for blind baking.
10
Bake for 30–35 minutes. The pastry should be well golden. Ten minutes before the end (when the ring has come away from the tart), you can brush it inside and out with an egg yolk and cream mixture for a glossy finish.
11
Out of the oven, place the tart shell on a rack to cool and dust lightly with cocoa butter to waterproof the pastry. It will stay perfectly crisp.
12
Smooth away any imperfections with a Microplane grater. I’m giving you the traditional lining and baking method here, but in practice I now use La pâte de Dom’s method, which produces beautifully neat tart shells. Her method may seem a little long but the results are well worth it. I’d recommend watching her YouTube tutorial for the full walkthrough — it’s perfectly explained 😊
Whipped yuzu ganache (make the day before)
Ingredients
- 50 g (1.8 oz) white chocolate
- 60 g (2.1 oz) + 125 g (4.4 oz) full-fat whipping cream
- 42 g (1.5 oz) yuzu juice
- 1.7 g (0.1 oz) powdered gelatine
- 10 g (0.4 oz) water (to rehydrate the gelatine)
Method
1
Rehydrate the gelatine in the water.
2
Make a ganache: melt the white chocolate in a bain-marie until it just starts to melt.
3
In a small saucepan, heat the 60 g (2.1 oz) of cream. Off the heat, add the rehydrated gelatine.
4
Pour one-third of the cream over the white chocolate and stir to emulsify. Add the second third, then the third, until smooth and homogeneous.
5
Add the yuzu juice and the 125 g (4.4 oz) of cold cream.
6
Blend with a hand blender, cover with cling film pressed directly against the surface and refrigerate overnight.
Piping the whipped yuzu ganache
Ingredients
- None
Method
1
The next day, whip the yuzu ganache like a chantilly cream.
2
Transfer to a piping bag fitted with a plain 10 mm nozzle.
3
On a baking sheet lined with a guitar sheet and a 22 cm (8.7 in) ring, pipe small balls of ganache starting from the outside and working inwards to form a disc. Be careful not to pipe the balls too high.
4
Freeze for 2 hours. Make sure the ganache doesn’t touch the ring (at most it should just graze it). Otherwise you’ll end up with untidy, uneven edges.
Lime confit
Ingredients
- 95 g (3.4 oz) lime juice
- 24 g (0.8 oz) + 24 g (0.8 oz) sugar (if making again, I’d leave out the first 24 g (0.8 oz))
- 3.4 g (0.1 oz) NH pectin
- a little vanilla powder
Method
1
In a small bowl, mix the pectin with the first 24 g (0.8 oz) of sugar.
2
In a small saucepan, combine the lime juice, vanilla powder and the remaining sugar.
3
Heat the mixture then add the sugar and pectin blend, bring to a boil and whisk.
4
Blend with a hand blender, transfer to a container, cover with cling film pressed against the surface and refrigerate. I found the confit a touch too sweet, so if making again I think I’d only add the 24 g (0.8 oz) of sugar mixed with the pectin. But it’s a matter of taste — feel free to experiment!
Lemon cremeux
Ingredients
- 85 g (3 oz) whole eggs
- 63 g (2.2 oz) sugar
- 72 g (2.5 oz) lemon juice
- 127 g (4.5 oz) butter
- 1.7 g (0.1 oz) powdered gelatine
- 10 g (0.4 oz) water (to rehydrate the gelatine)
Method
1
Rehydrate the gelatine in the water.
2
In a saucepan, combine the lemon juice, eggs and sugar and whisk together.
3
Heat to 83°C / 181°F, stirring constantly. The cream will thicken — treat it like a crème anglaise and be careful not to exceed this temperature. If you don’t have a thermometer, here’s Chef Michalak’s tip: whisk the mixture quickly, then stop. If the “whirlpool” stops immediately, the cream is at the right temperature.
4
Off the heat, add the rehydrated gelatine and stir.
5
Transfer to a jug (or any tall container). When it has cooled to around 35°C / 95°F, add the cold butter and blend with a hand blender until smooth and homogeneous.
6
Cover with cling film pressed against the surface and set aside.
Assembly
Ingredients
- None
Assembly
1
Give the lime confit a good whisk to loosen it back to a more fluid consistency.
2
Pour the confit into the tart shell and smooth with a small offset spatula. Remember to keep a little back for decoration. Refrigerate for 15 minutes.
3
Cover the confit with the lemon cremeux and smooth flush with a large spatula. The cream should come right up to the edge.
4
Remove the whipped yuzu ganache disc from the freezer, turn it over and spray lightly with white velvet spray (this step is optional — if you don’t have velvet spray it doesn’t matter much, especially as the cream is white).
5
Using a large spatula, carefully place the disc on the lemon cremeux, centring it precisely. Whatever you do, don’t pick up the disc by the edges with your fingers — you risk dislodging a ball of ganache (I’ve tested this for you! 😄) In my photos you can see a little lemon cremeux peeking out all around. That’s because I piped the ganache in a 20 cm (7.9 in) ring instead of 22 cm (8.7 in). I’d strongly recommend using a ring the same diameter as your tart shell — it looks much neater (in my opinion).
Decoration
Ingredients
- None
Method
1
Zest a lime using a Microplane grater.
2
Dot drops of lime confit all over the ganache.
3
Using tweezers, carefully place lime zests over the tart.
4
Refrigerate until serving.

Gallery