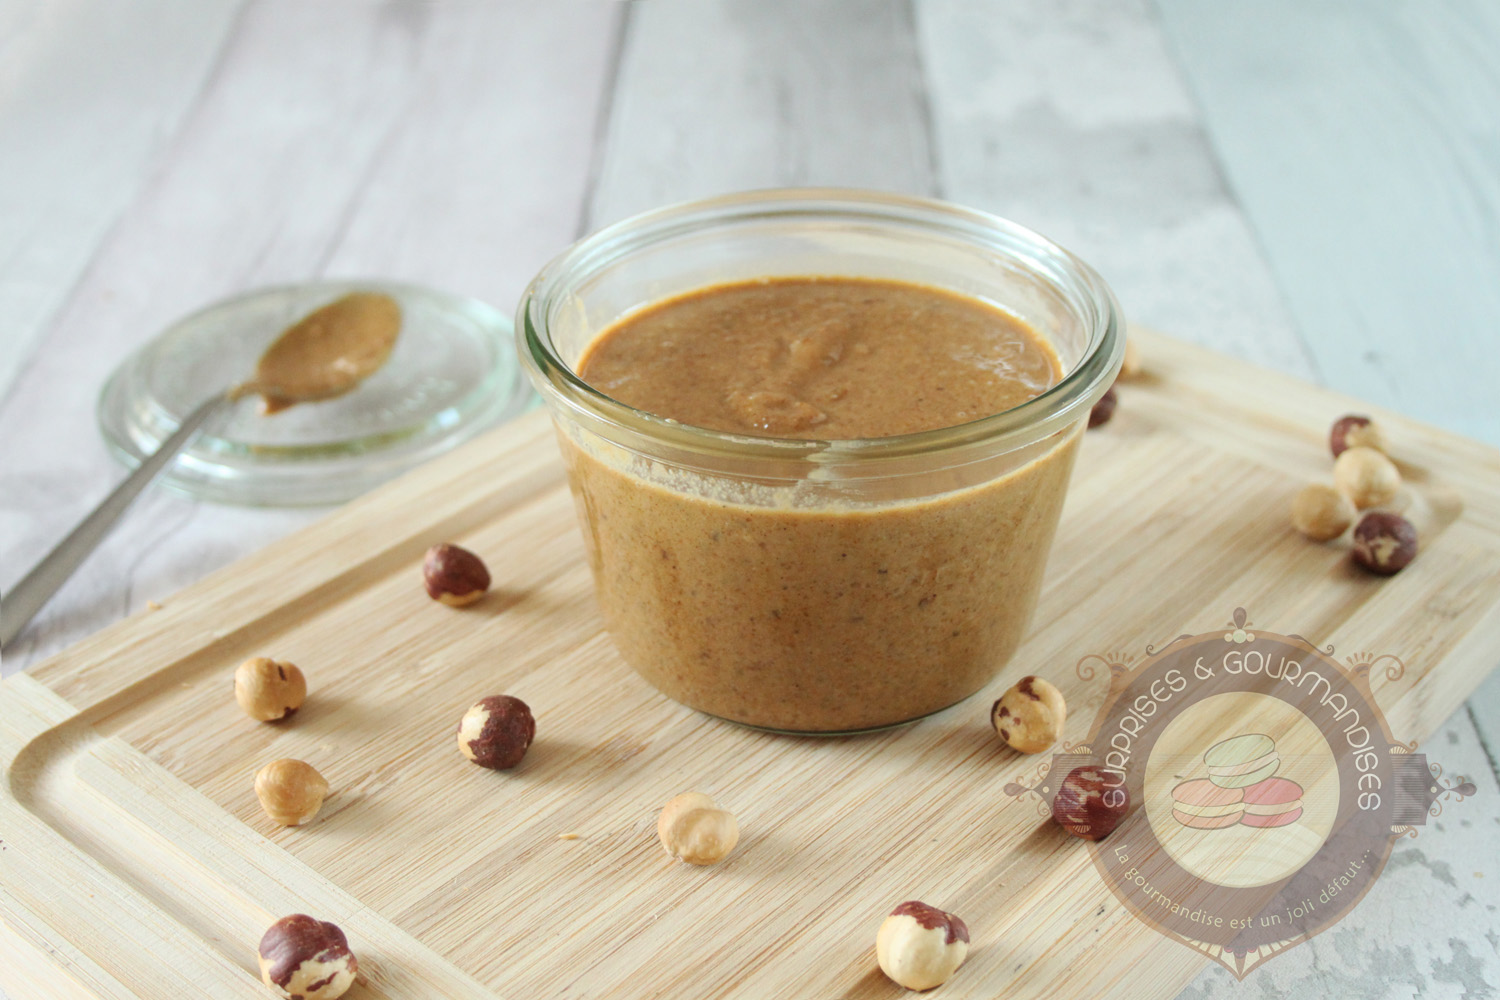
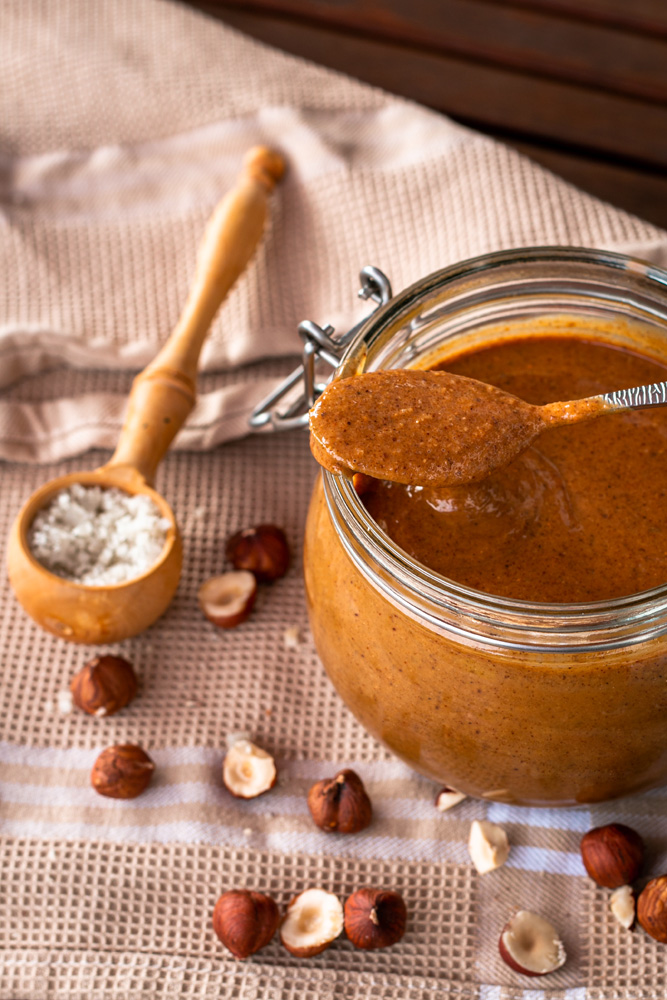
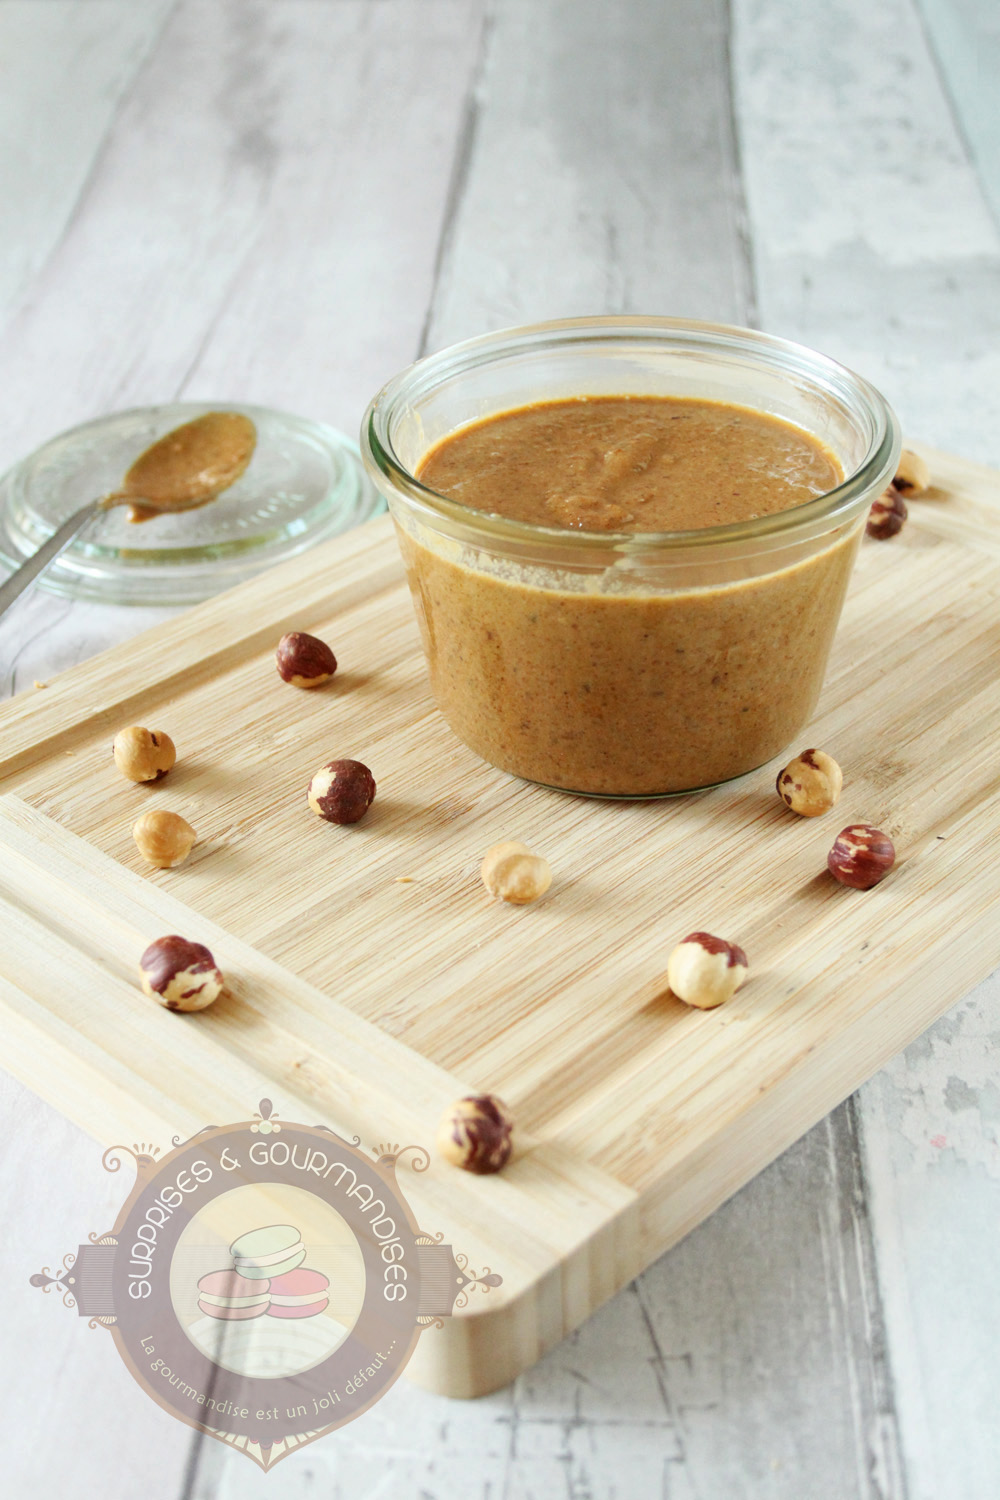
After updating my recipe for the Paris-Brest according to Philippe Conticini, I had to publish the homemade praline recipe. I hadn’t made any in ages and it’s a lovely (re)discovery! I had a tendency to take the quickest route and use shop-bought praline… what a mistake! Believe me, I’ll never buy ready-made praline again. From now on, praline is homemade!
What is a praline? It’s quite simply a mixture of nuts and caramelised sugar. Here, I used equal parts almonds and hazelnuts, but you can just as well use only almonds or only hazelnuts, or even use other nuts (pistachio, pecan, peanut…). Before reaching the praline paste stage, you get a powder called pralin. So you can stop at this stage if you only need a little pralin for your desserts.
I followed chef Philippe Conticini’s recipe and set about making a good kilo of praline. You should know that there’s none left, it all disappeared in a week *gulp* I have no excuses… it’s so good!!!!!!! I could eat it by the spoonful, which says it all! Plus, it’s dead easy to make, provided you have a good food processor of course. Mine is a Kenwood. I’d spotted it on the show Dans la peau d’un chef (for making a praline, as it happens) and I’m delighted with it!!! As the quantity of nuts was large, I had to do it in 3 batches to get nearly a kilo of praline, but it was worth it.
What’s great about homemade praline is that you can choose to get a smooth praline or an “old-fashioned” praline that still has some grains in it. It’s up to your taste. I was afraid I hadn’t blended mine enough (despite the liquid appearance of my praline) and in fact, those little grains are just insane. If you’re planning a praline dessert, whatever it may be, go ahead and make a homemade praline, you won’t regret it!
Ingredients & Method
4 components · Full recipe
Homemade almond and hazelnut praline
Ingredients
- 300 g (10.6 oz) hazelnuts
- 300 g (10.6 oz) almonds
- 400 g (14.1 oz) caster sugar
- 100 g (3.5 oz) water
- 2 pinches fleur de sel
Method
1
Toast the almonds and hazelnuts in the oven for about 15 minutes at 150°C / 300°F. I use one baking tray for the almonds and another for the hazelnuts. Once the hazelnuts are warm or cool, rub them between your hands to remove the skins. A little remaining skin is fine. In a heavy-bottomed saucepan or cast-iron casserole, bring the water and sugar to the boil. At 116°C / 241°F, remove from the heat, pour the nuts into the syrup and stir so the sugar coats all the nuts. The mixture will turn whitish — that’s normal.
2
Return to medium heat and stir continuously until the sugar melts again and caramelizes (this takes about twenty minutes). Do not stop stirring at any point, otherwise the nut mixture will burn.
3
At the end of cooking, the nuts are glossy and have taken on a beautiful auburn colour. Spread them out on baking paper and leave to cool completely. Once fully cold, break up the nut slab and place it in a food processor with the fleur de sel.
4
Blend in short bursts (pausing regularly to prevent the paste from overheating) until you reach a praline consistency. The longer you blend, the more liquid it will become. You can choose an “old-fashioned” praline with some remaining grains, or a very smooth praline. Personally, mine still had some grains and I loved it that way! I started with my large food processor to blend the whole batch of caramelized nuts. At first, you get a very coarse pralin powder. It begins to clump together. The oil in the nuts is released, forming a kind of paste. Blending a little more, the praline paste becomes more supple. Now it is almost liquid. Blending a little further, I get a fairly liquid paste (but not too much), with a few small grains remaining. You can blend even longer if you prefer a smoother praline.
The caramelization
Ingredients
- None
Method
1
I recommend using a thermometer for this step. I’ve tried making praline without measuring the sugar temperature and found it much less successful. If you don’t want to spend much, a trip to the Swedish furniture store will do (under €10 and it works perfectly).
2
You must stir the nuts continuously to prevent them from burning. This step can take a little while (especially if, like me, you’re working with a large quantity of nuts). No matter — it’ll give your arms a workout!
The blending
Ingredients
- None
Method
1
If you bake regularly, I can’t recommend investing in a good food processor highly enough. If praline-making is an occasional activity, you’ll need to be careful with your appliance, as this blending step takes a while. Make sure you stop frequently so the motor doesn’t overheat and give up — that would be a shame.
2
Personally, I started blending with a large food processor to get the pralin powder. I then transferred the powder to my smaller food processor in several batches (it took me 3 rounds to process everything). Even though I trust my little Kenwood, I stop regularly to check the consistency of the paste and scrape down the sides.
Storing the homemade almond and hazelnut praline
Ingredients
- None
Method
1
The praline paste keeps for several months in a sealed glass jar stored in a cool, dry place. Some people keep praline in the fridge, but I don’t think that’s necessary.
2
If you haven’t used your praline for a long time, it’s normal to find a thin layer of oil on the surface. Simply stir well and it’ll be perfectly fine.

Gallery