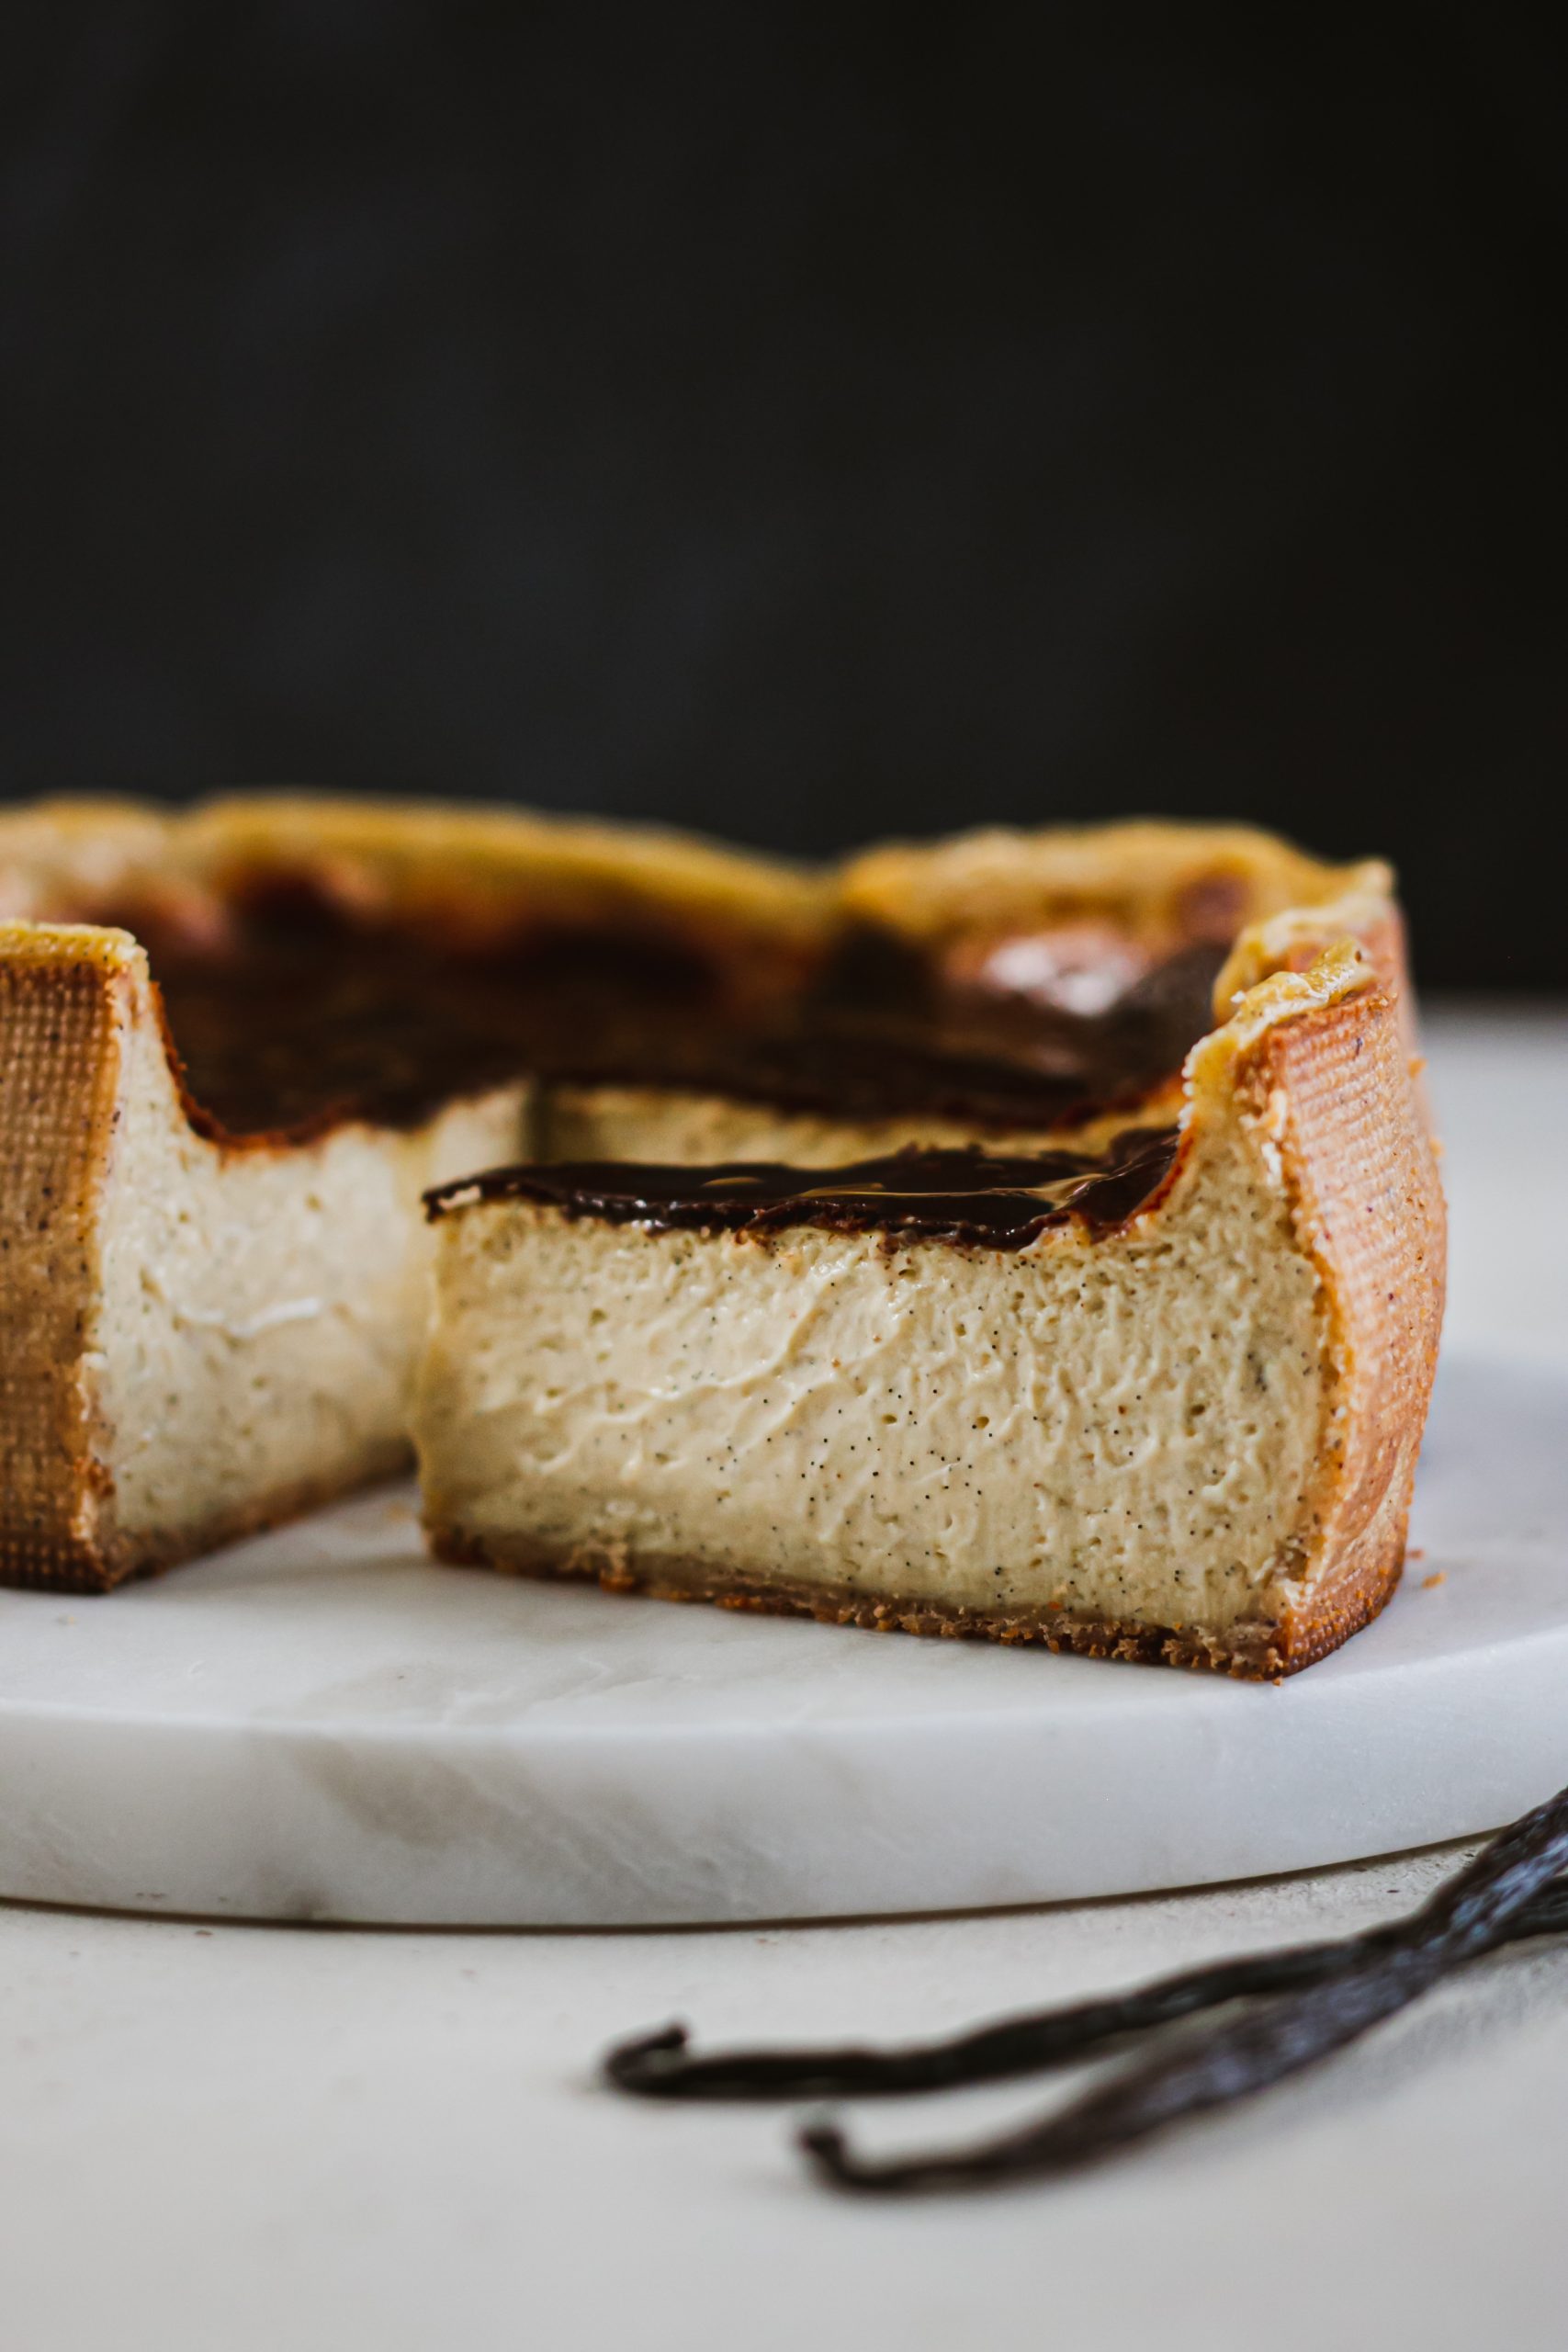
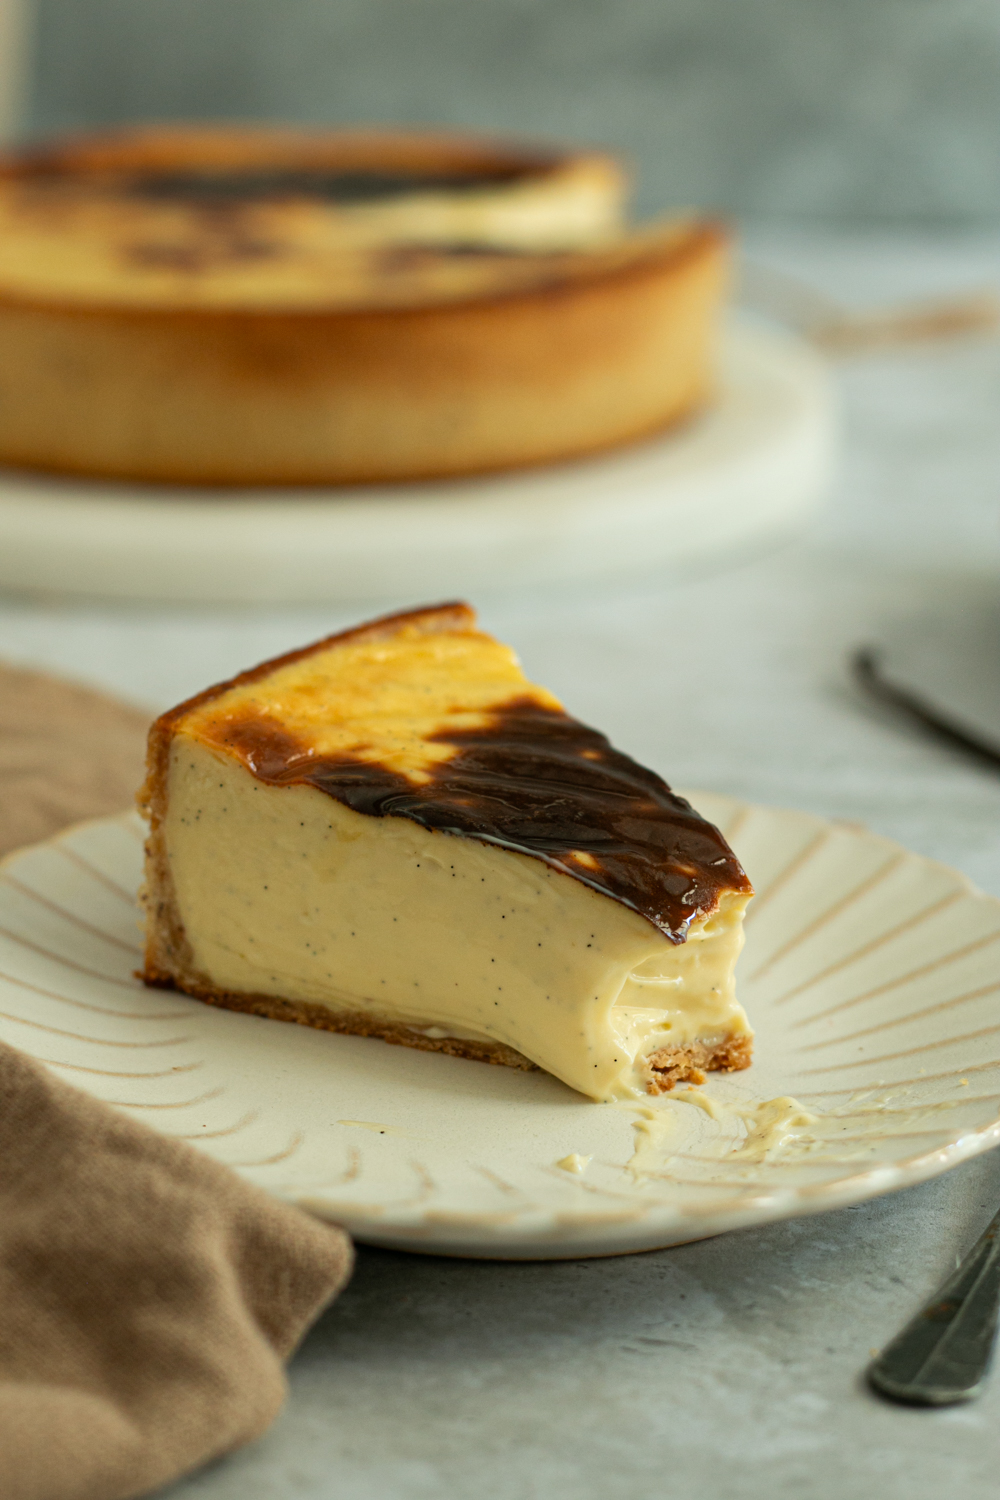
If you think you’ve already tasted the best flan of your life, just wait until you discover this one. This recipe is a real favourite of mine: a melting texture, ultra creamy even, a short baking time that changes everything, and above all an unforgettable vanilla intensity. The secret? A custard baked for only 15 minutes, which gives it an exceptional creaminess… provided you blind-bake your tart base. It’s a step not to be neglected, but the result is well worth it!
This is THE flan recipe I now make every time, I’ve forgotten all the others 😉 But be careful, it will need a few adjustments because every oven is different. Read the recipe and the tips given carefully to avoid ruining your dessert.
What is the origin of this unique flan?
I owe this incredible discovery to Mika, a passionate pastry chef you can follow on Instagram. Digging a little deeper, I learned that this recipe originally comes from François Daubinet, from when he was working at Fauchon. You immediately understand the level of exacting standards and refinement that this version of the flan can offer.
I mentioned adjustments to be made at the start of this post. You should know that François Daubinet and Mika bake the custard for only 9 min (and for those wondering, yes, the flan holds together perfectly, I had the chance to taste Mika’s flan). I did several tests with my oven and arrived at a baking time of 14 minutes for the custard, which suits me perfectly. Note down your trials and adapt to your equipment.
Which vanilla should you use?
It’s simple: here, there’s no question of skimping on quality. Vanilla is the star of the flan. I use the magnificent Madagascar vanilla pods from Norohy, distributed by Valrhona. They are plump, powerful, full of seeds… In short, ideal for such a fragrant and generous recipe. It’s an ingredient that makes all the difference. In any case, I’d advise against using any kind of vanilla flavouring (which, by the way, has nothing to do with vanilla, just so you know).
In this recipe, I used 2 vanilla pods because I’m rather generous when it comes to this spice, my favourite product in pastry. But if you only have one nice vanilla pod, it will of course do the job perfectly 🙂
To sum up, if you like creamy flans, this one will probably shake up your standards. Get ready to melt at the first bite — and never want to go back to a classic version. And if you prefer flans that are rather rubbery and/or springy, you can move along, because this recipe won’t make you happy 😉

Ingredients & method
2 components · Full recipe
Sweet pastry
Ingredients
- 75 g (2.6 oz) butter
- 50 g (1.8 oz) icing sugar
- 20 g (0.7 oz) ground almonds
- 25 g (0.9 oz) egg
- 1 g (0 oz) fine salt
- 1 g (0 oz) fleur de sel
- 125 g (4.4 oz) T55 flour
- a little Norohy vanilla powder
Method
1
Place the softened butter and icing sugar in the bowl of a stand mixer fitted with the paddle attachment and mix on low speed. Add the ground almonds, vanilla powder, salt and fleur de sel and mix again.
2
Then add the beaten egg and mix with a spatula this time (it will be easier than using the stand mixer).
3
Finish with the flour and mix with the stand mixer until you get a smooth ball of dough. Do not over-work the dough. Gather the dough into a ball without pressing too hard.
4
Wrap the dough in clingfilm, shaping it into a rectangle, and refrigerate for 2 hours.
5
Once the dough is well chilled, roll it out to 3 mm thickness using a rolling pin.
6
Cut a long strip of dough the length of the circumference of the tart ring (about 58 cm (22.8 in) long for an 18 cm (7.1 in) diameter ring) and 5 cm (2 in) wide. You can, like me, make 2 strips of dough that you will join together.
7
Place the ring on a baking sheet lined with parchment paper, then line it with a strip of Silpain baking mat cut to size (this is optional, I find it looks nicer). If you don’t have one, make sure to butter the ring well.
8
Then cut out a disc of dough the same diameter as the ring and place it at the bottom of the ring.
9
Place the 2 strips of dough (unless you managed to make just one) around the inside edge of the ring, making sure they adhere to the Silpain. Join the 2 strips of dough (overlapping them by half a centimetre) with a little water.
10
Lightly moisten your finger and run it along the inside corner of the ring to properly join the tart base to the sides.
11
Dock the tart base, then refrigerate overnight or freeze for a few hours.
12
Once the dough is well chilled (or frozen), preheat the oven to 180°C / 350°F.
13
Line the tart base with parchment paper and fill with rice grains (or lentils or baking beads) to the brim. This will prevent the edges of the flan from collapsing during baking. Personally, I use Albal 2-in-1 clingfilm which I arrange in 2 layers to form a rice sachet. Bake for 12 minutes at 180°C / 350°F, then remove the rice sachet (or baking beads) and bake for a further 10 minutes.
Vanilla flan custard
Ingredients
- 600 g (21.2 oz) whole milk
- 115 g (4.1 oz) egg yolks
- 115 g (4.1 oz) soft brown sugar
- 60 g (2.1 oz) cornstarch
- 160 g (5.6 oz) heavy cream
- 2 Norohy vanilla pods
Method
1
Whisk the egg yolks with the sugar, then add the cornstarch.
2
Heat the milk with the scraped vanilla pods and leave to infuse for about 20 minutes, covered (you can do this in advance, or even make a cold infusion the day before to develop the vanilla flavours).
3
Pour the hot milk over the egg yolk/sugar mixture, then return everything to the saucepan and cook for one minute without stopping to whisk. The mixture will thicken.
4
Pour into a wide dish (ideally one you’ve put in the freezer beforehand for faster cooling), cover with clingfilm touching the surface, and refrigerate until the pastry cream cools to lukewarm.
5
Once lukewarm, transfer to a bowl and loosen it by blending with a stick blender.
6
Add the heavy cream and blend again until you get a perfectly smooth and homogeneous cream.
7
Pour the custard into the tart shell right to the top, smooth with a large offset spatula, and clean the edge of the flan with your thumb if needed.
8
Place the ring back (without the Silpain) and bake for 14 minutes at 210°C / 410°F this time.
9
Add 1 to 2 minutes of grilling to achieve a nice colour if needed, but be careful — do not take your eyes off the flan as it happens very quickly!

Gallery