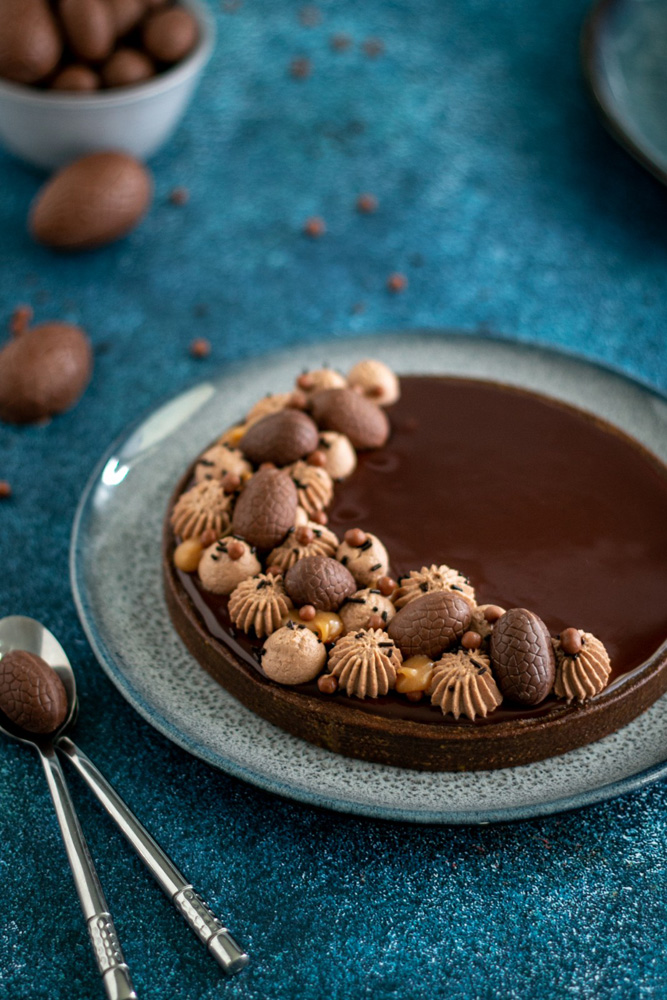
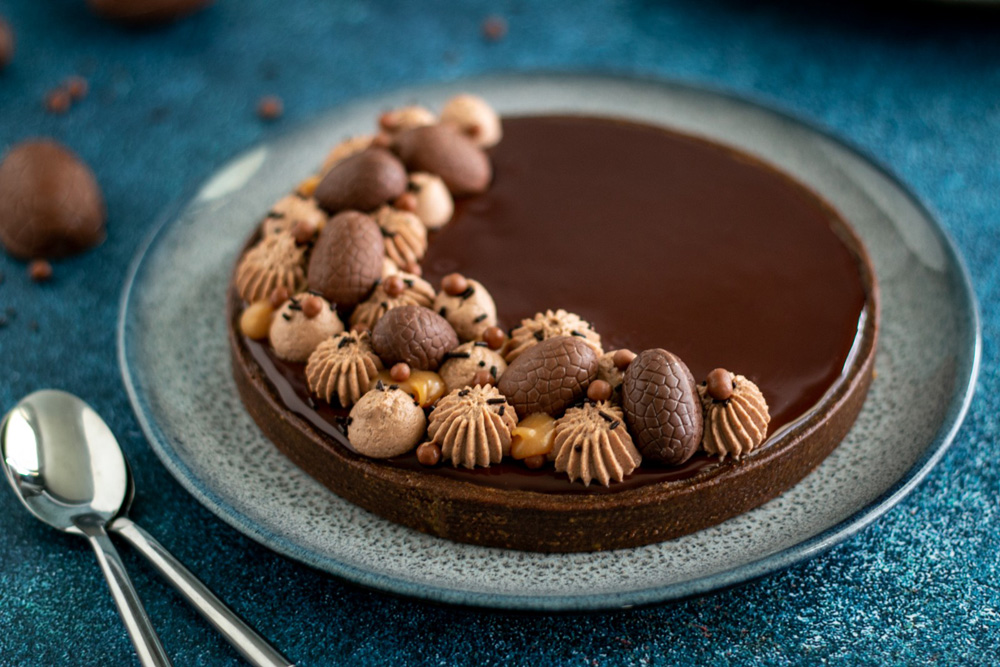
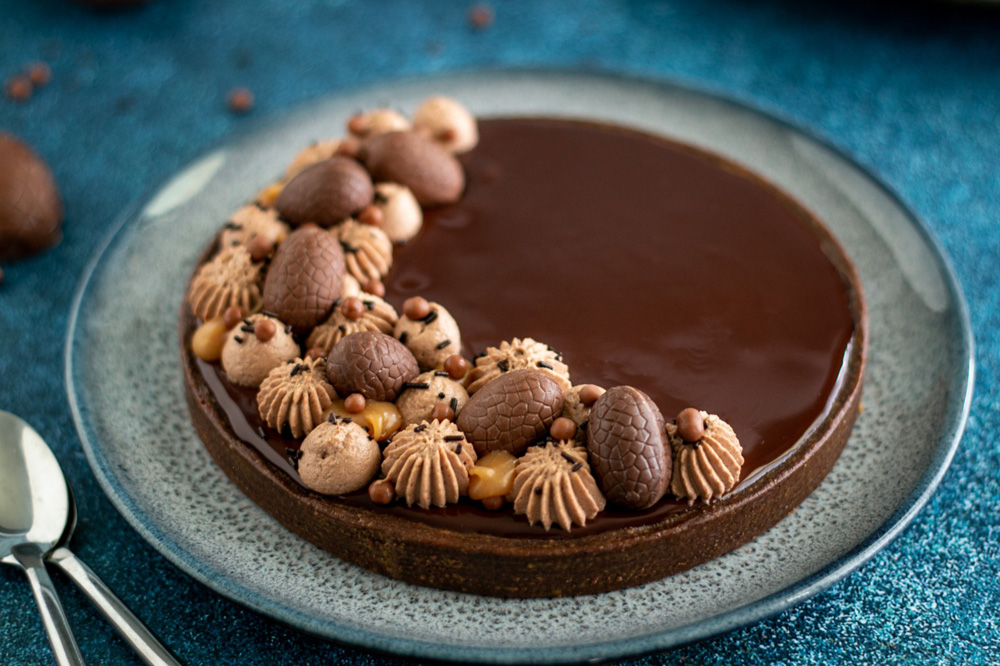
Here we are, one week from Easter, and I really wanted to offer you an indulgent recipe for the occasion. Obviously, I chose to make a chocolate recipe!
This Easter chocolate and caramel tart is made up of a cocoa pâte sablée, a salted butter caramel, a tonka chocolate ganache and a milk chocolate whipped ganache.
The recipe is simple (I promise) and ultra indulgent. I used the chocolate ganache recipe found in the chocolate, tonka bean and caramelised hazelnut tart (if it ain’t broke, don’t fix it!) and for the decoration, I was largely inspired by one of the Easter desserts by Sylvie from the blog Amuse Bouche.
Which chocolate should I use?
Here, chocolate takes centre stage and I strongly advise you to opt for a quality chocolate, in other words a couverture chocolate from Valrhona or Cacao Barry. It’s a chocolate richer in cocoa butter that you won’t find in supermarkets. The price is higher, granted, but honestly the taste is incomparable. For this tart, I used Inaya dark chocolate and Alunga milk chocolate from Cacao Barry (a bit cheaper than Valrhona).
As for the ganache that fills the tart shell, I like to make a dark chocolate/milk chocolate blend but if you’re a dark chocolate fan, you can use only dark chocolate. Be careful, a 100% milk chocolate tart may be a little too sweet (let’s not forget there’s a layer of caramel too…)
What’s the difference between ganache and whipped ganache?
A ganache is a mixture of chocolate and cream. You combine two fats (a bit like a mayonnaise) by making an emulsion. A perfect emulsion will give a magnificent ganache, beautifully smooth, beautifully glossy and terribly indulgent. With it, you can make many desserts: truffles, fill a Yule log, cover a cake, fill macarons, fill chocolate bonbons or even make a tart filling. But you can also make mousses for entremets starting from a ganache base.
Whipped ganache is lighter. It differs from classic ganache by the addition of cold cream after the emulsion. After several hours in the fridge, you need to whip it with a mixer to get a thicker texture. You can then use it with a piping bag or a spatula. You can also fill macarons with it, make entremets…
How do I get my whipped ganache right?
Whipped ganache can be scary. But you just need to follow the recipe carefully to get it right every time. First of all, you must use full-fat liquid cream, that is to say a cream containing at least 30% fat. I’ve recently been using a liquid cream with 35% fat (normally reserved for professionals) and no need to go to Métro to get it. Yes, you can find it at Auchan, quite simply. What’s more, it comes in 50cl cartons, which is much more practical (I find) than a 1L carton.
The ganache must be prepared the day before. Yes, I know, you could just as well prepare it 4 hours ahead… but you might as well put all the odds in your favour, right? So I advise you to prepare it the day before (it also lightens the workload) and to chill it in a wide container.
The next day, make sure the bowl of your stand mixer (or your mixing bowl) and the whisk(s) are nice and cold. A quick 10-20 minutes in the fridge or a quick trip to the freezer if you have room will do. Honestly, I use the stainless steel bowl of my KitchenAid stand mixer and I run it under very cold water just before whipping the ganache. That’s enough to cool it down.
Last tip, go easy when whipping the ganache. We tend to think, wrongly, that you need to mix at high speed but it’s the opposite. I use a low speed (or medium speed at most) to incorporate as much air as possible. You need to keep a close eye on it (avoid doing something else at the same time!) so you can stop in time. The ganache will firm up, the whisk will start to leave marks and you’ll see furrows forming. If in doubt, stop and look (if it’s over-whipped, there’s no going back). The ganache should hold on the whisk but still remain fairly supple. If it’s almost ready, don’t hesitate to finish with a hand whisk. You have a bit more control than with the stand mixer…

Ingredients & method
6 components · Full recipe
Cocoa shortcrust pastry (to start the day before)
Ingredients
- 155 g (5.5 oz) T55 flour
- 65 g (2.3 oz) icing sugar
- 20 g (0.7 oz) ground almonds
- 15 g (0.5 oz) cocoa powder
- 1 g (0 oz) fleur de sel
- 100 g (3.5 oz) cold butter
- 50 g (1.8 oz) egg (1 egg)
Method
1
In the bowl of a stand mixer, combine all the dry ingredients (flour, cocoa powder, icing sugar, fleur de sel and ground almonds).
2
Add the cold butter (but pliable) cut into small pieces and work it in using the paddle attachment or your fingertips. When the butter is fully incorporated, you will get a cocoa-flavoured sandy mixture.
3
Add the whole egg, lightly beaten, and mix quickly. Do not overwork the dough. Bring it together into a ball without pressing too hard.
4
Wrap the dough in cling film, shaping it into a flat rectangle. Refrigerate for at least one hour.
5
Roll out the dough to 2–3 mm thickness using a rolling pin. Cut a long strip about 50 cm (19.7 in) long (or 2 strips of 25 cm (9.8 in), which may be easier) and 2 cm (0.8 in) wide. If the dough is too soft, pop it in the freezer for 5 minutes.
Creamy caramel (can be made ahead)
Ingredients
- 95 g (3.4 oz) sugar
- 50 g (1.8 oz) + 100 g (3.5 oz) glucose
- 50 g (1.8 oz) milk
- 1 vanilla pod
- 200 g (7.1 oz) whipping cream
- 2 g (0.1 oz) fleur de sel
- 70 g (2.5 oz) butter
Method
1
In a small saucepan, heat the cream, milk, 50 g (1.8 oz) of glucose, vanilla and fleur de sel.
2
In another saucepan, cook the sugar and the remaining 100 g (3.5 oz) of glucose until it reaches 185°C / 365°F.
3
Off the heat, carefully deglaze with the hot cream. Watch out for splashes.
4
Return to the heat and cook to 105°C / 221°F, stirring with a spatula. Strain through a sieve if needed.
Whipped milk chocolate ganache (to start the day before)
Ingredients
- 50 g (1.8 oz) milk chocolate
- 40 g (1.4 oz) whipping cream
- 87 g (3.1 oz) whipping cream (30% fat)
Method
1
Break the milk chocolate into pieces in a bowl (you can melt it slightly in a bain-marie or microwave).
2
Heat the 40 g (1.4 oz) of cream in a saucepan and bring to a boil.
3
Pour one-third of the cream over the milk chocolate and stir with a spatula to create an emulsion. Then add a second third, then a third, until you have a smooth, homogenous mixture.
4
Add the 87 g (3.1 oz) of cold cream and stir again. Blend for a few seconds with an immersion blender to fully homogenise.
Baking the cocoa shortcrust pastry
Ingredients
- None
Method
1
Preheat the oven to 170°C / 340°F.
2
Once the dough is well chilled, trim any excess dough with a small knife.
3
Line the tart shell with parchment paper and fill with baking beads or dried beans for blind baking (if the tart shell has rested overnight in the fridge, baking beads are usually not necessary as the dough won’t shrink).
4
Bake for 15 to 20 minutes, then remove from the oven, un-ring and leave to cool on a wire rack (note: it can be harder to judge doneness with a cocoa dough).
Tonka bean chocolate ganache
Ingredients
- 100 g (3.5 oz) dark chocolate
- 50 g (1.8 oz) milk chocolate
- 125 g (4.4 oz) whipping cream
- 25 g (0.9 oz) honey
- 1/4 vanilla pod
- 0.5 g (0 oz) fleur de sel
- 40 g (1.4 oz) butter
- 7 g (0.2 oz) whole milk
- 1/4 tonka bean
Method
1
In a small saucepan, heat the cream with the vanilla seeds and grated tonka bean. Add the salt, milk and honey.
2
Meanwhile, break the chocolate into pieces in a tall container (I use a jug).
3
When the liquid has reached 75°C / 167°F, pour it over the chocolate. Blend with an immersion blender until smooth and homogenous.
Assembly
Ingredients
- None
Method
1
Spread the salted caramel over the tart base using a small offset spatula.
2
Scatter some crunchy pearls on top.
3
Pour the ganache over the tart base and place in the freezer for 20 minutes to set the ganache firmly before piping the whipped ganache on top.
4
Whip the milk chocolate ganache with an electric mixer until firm enough to pipe but not over-beaten. Divide it between 2 piping bags (one with a PF18 star nozzle and one with a 16 mm plain nozzle).
5
Pipe rosettes of ganache here and there and decorate as you wish. I added a few chocolate Easter eggs, crunchy pearls, chocolate sprinkles and small dots of salted caramel.

Gallery